|
|
Post by ira on Feb 20, 2013 20:36:41 GMT -5
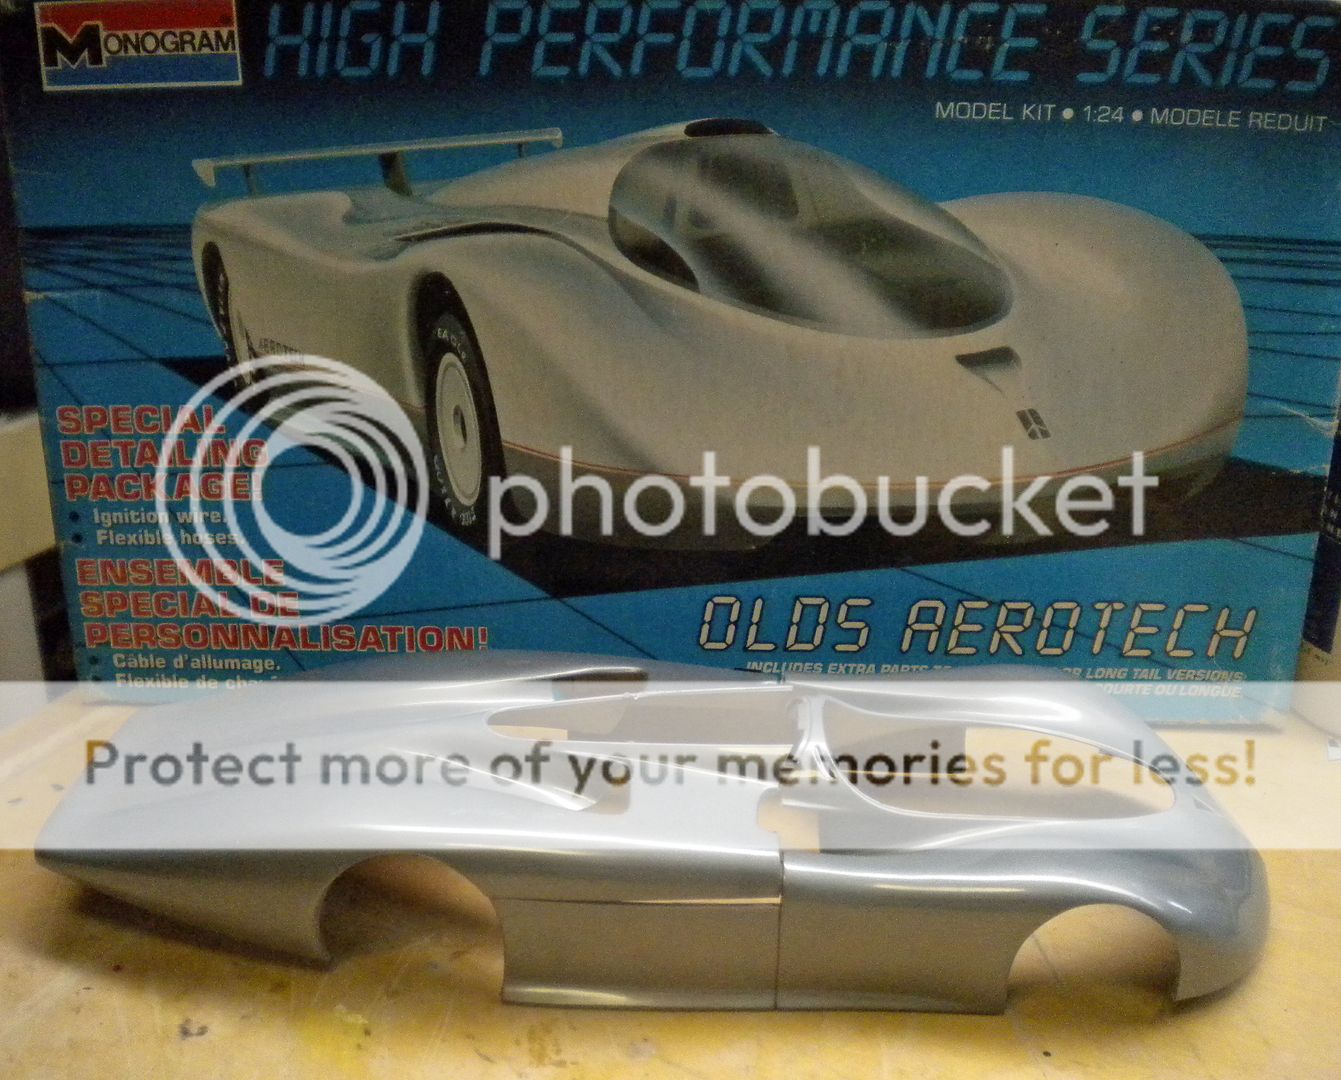
AEROTREC!AeroTrec is going to be an Anti-Gravity Racer! This aerodynamic shape could also be made into a Submarine or a Bonneville Racer. My goal is to make the AeroTech body even, more Aerodynamic than it already is... AeroTrec is based on parts from 2 Olds AeroTech Bodies. This kit has the option of 2 different Body Lengths. I went with the Long Body Parts.  Now lets cut up some plastic... 
|
|
|
|
Post by Starryeyes on Feb 20, 2013 20:43:36 GMT -5
oh boy !! .. I'm strapping myself in .. putting on my helmet .. and hanging on for dear life ! ! .. START HACKING !   |
|
|
|
Post by ira on Feb 21, 2013 10:36:30 GMT -5
[glow=red,2,300]MIRRORING THE REAR!!![/glow] I started with the top Rear Section and cut off half of the Section behind the rear wheel wells. I also cut the Donor Rear Section in the same way. Next I cut out the lower part of the body sides, so that the Donor Body Section fits in place as shown.  Another View...  The I cut the plastic around the Engine Compartment, so that it is flush with the New Bottom of the AeroTrec!   |
|
|
|
Post by modelcarfan on Feb 21, 2013 11:45:27 GMT -5
Right on Chuck, ( checking my pulse) I ll sit and watch.. sighh  |
|
|
|
Post by TooOld on Feb 21, 2013 19:15:57 GMT -5
Oh Yeah ! ! It's going warp 9 already !
|
|
|
|
Post by ira on Feb 22, 2013 10:49:52 GMT -5
[glow=red,2,300]CUTTING THE FRONT!!![/glow] With the New Rear Bottom of the Body in place, I marked a New line for the Bottom Front of the Body...  I cut only the Front Sides for now...  More Coming...  |
|
|
|
Post by ira on Feb 22, 2013 11:00:17 GMT -5
[glow=red,2,300]NARROWING THE FRONT!!![/glow] I used a ruler and marked the sides of the front wheel "Bumps" for cutting...  I cut along the lines with a Cut-Off Wheel in the Dremel Tool!  Here is the front after the cut...   |
|
|
|
Post by gearbuster on Feb 23, 2013 13:22:04 GMT -5
This looks interesting...
|
|
|
|
Post by ira on Feb 23, 2013 17:51:37 GMT -5
[glow=red,2,300]ROUNDING OUT THE FRONT...[/glow] I cut plastic oversized shapes to fill the cuts and attached them with Zap-A-Gap-Green Label...  I cut the sides from the "Short" Rear Section of the AeroTech Body.  Then I cut the height of the sides down so that I could fit the Side Sections in. Then I glued them in place...  Next I cut the side pieces from, the Front Under Piece, and glued them in...  More Coming...  |
|
|
|
Post by Starryeyes on Feb 23, 2013 19:58:28 GMT -5
This just keeps looking faster all the time ! ;D
|
|
|
|
Post by ira on Feb 23, 2013 22:44:29 GMT -5
[glow=red,2,300]MORE ROUNDING...[/glow] I turned the body over and using the Front Underside Corners as a guide I ground off the excess plastic on top!  Here are the Top Corners after some more sanding...  I also cut some of the height from the front fenders...  More Coming...  |
|
|
|
Post by ira on Feb 24, 2013 10:31:32 GMT -5
[glow=red,2,300]FILLIN' THE GAPS![/glow] I cut 2 pieces of plastic to fill the Fenders areas...  I glued it in place, here it is after a little sanding.  Front View...   |
|
|
|
Post by ira on Feb 24, 2013 11:05:45 GMT -5
[glow=red,2,300]THE UNDERSIDE![/glow] I cut a piece of plastic to fit in the Engine Cover Hole. Then I glued it in place. I also cut 2 small pieces from the donor rear body to fill the 2 areas at the front corner...  Next I glued 2 pieces of Plastic Strip and glued them on the inside edges of the Access Hole. Then I cut another wider strip to fit on the front edge. This gives me a good shape for the Access Panel.  I cut a plastic piece to fit between the front corners. When glued in place it formed the bottom of the Intake Opening.  Then I cut the Access Panel from Sheet Plastic and fit it in place...   |
|
|
|
Post by ira on Feb 24, 2013 11:14:48 GMT -5
oh boy !! .. I'm strapping myself in .. putting on my helmet .. and hanging on for dear life ! ! .. START HACKING !   Thanks Chuck!  |
|
|
|
Post by ira on Feb 26, 2013 12:50:23 GMT -5
[glow=red,2,300]GLUE IT TOGETHER!!![/glow] I did some fitting & cutting untill the top and bottom Rear Vents matched up inside. "Corregated Metal" Sheet Plastic was used to cover the Vents.  I can finally glue the Rear Sections together! (I was using Blue Tape to hold the body untill now.) Next I cut 2 pieces of plastic to fill the wheel openings and glued them in place.  More Coming...  |
|

