Post by jimbertges on Oct 24, 2014 14:20:04 GMT -5
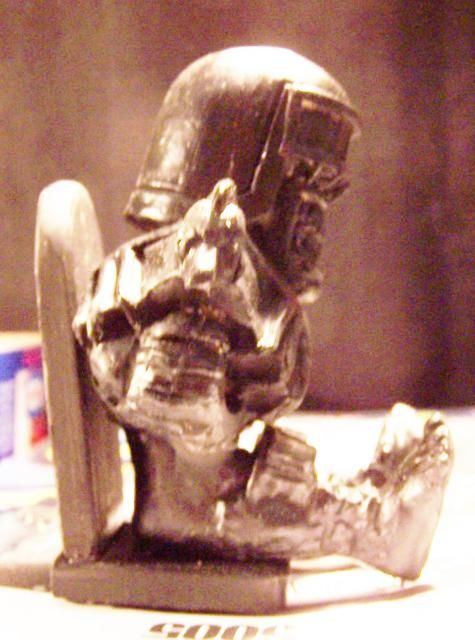
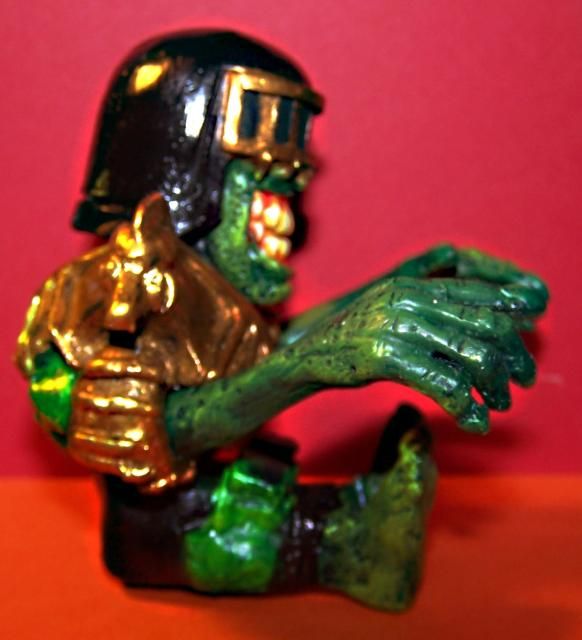
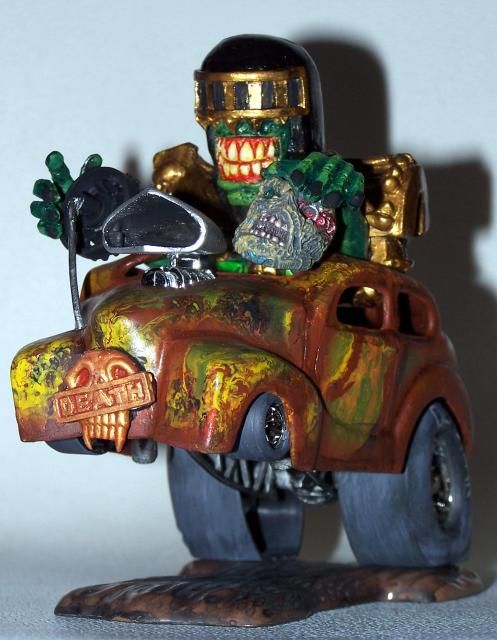
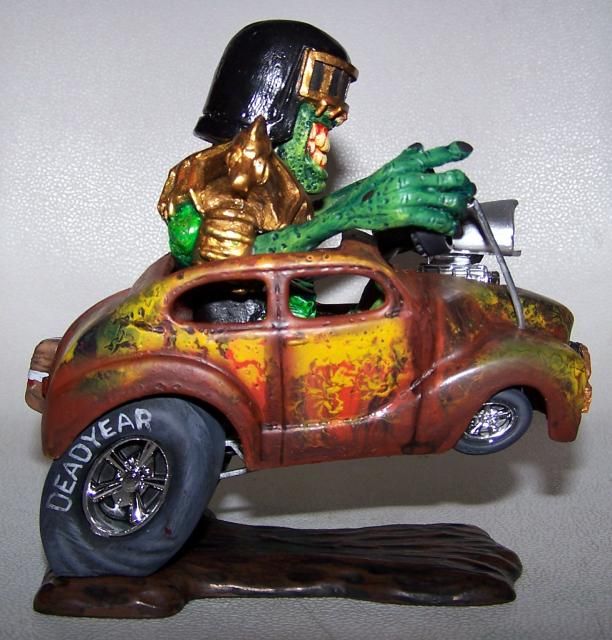
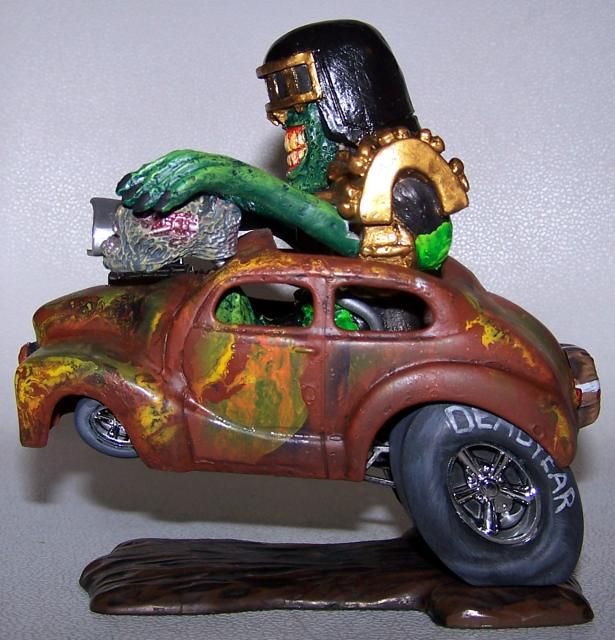
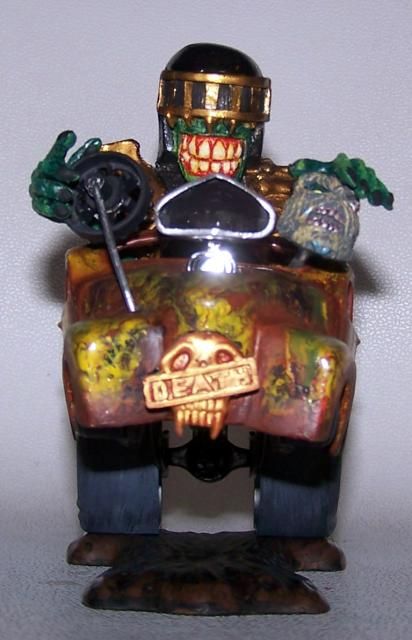
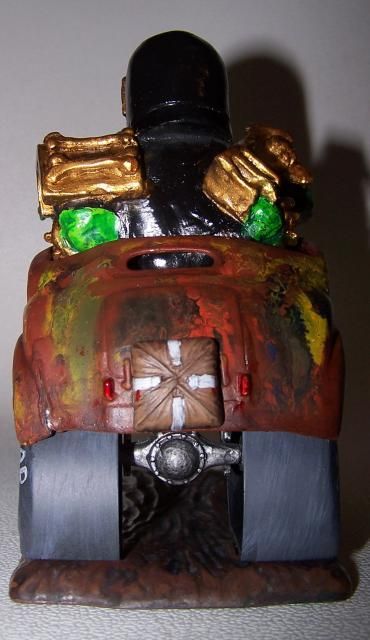
This is a project I've been wanting to do for some time. I figure now is as good a time as any to get 'er done. A while ago a friend of mine in England created a super-deformed resin kit of the Judge Dredd character Judge Death and I thought the little guy would make a cool driver for some crazy race car. He was originally surrounded by skulls, so I removed those and was left with just the figure. Because he's an English character (even though Judge Dredd is set in future New York) I wanted to put him in an English car, so I selected the Snap Draggins Boss Austin.
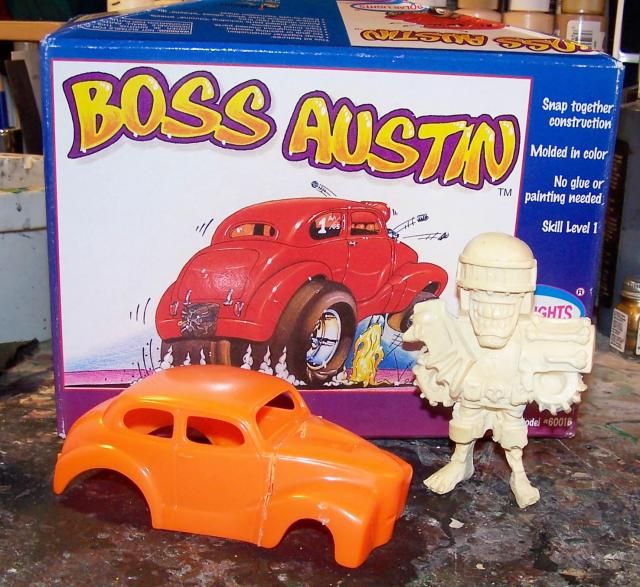
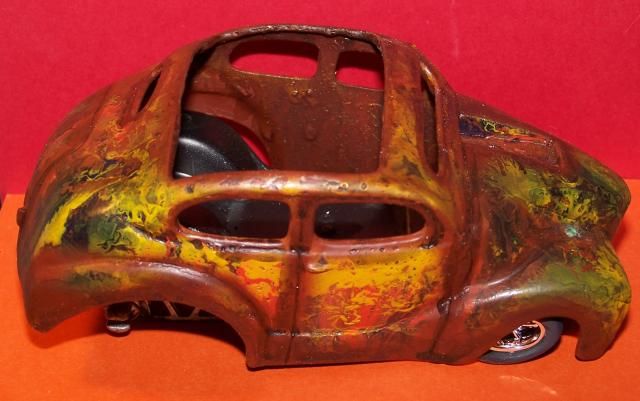
Because the Judge was a bit too wide for the little car I had to do some expansion. Taking a page from Ira the Fearless's book, I got out my Dremel saw blade and mercilessly cut the body apart in order to fit the Judge's broad shoulders. I also sliced the Judge at the waist to get him into a sitting position.
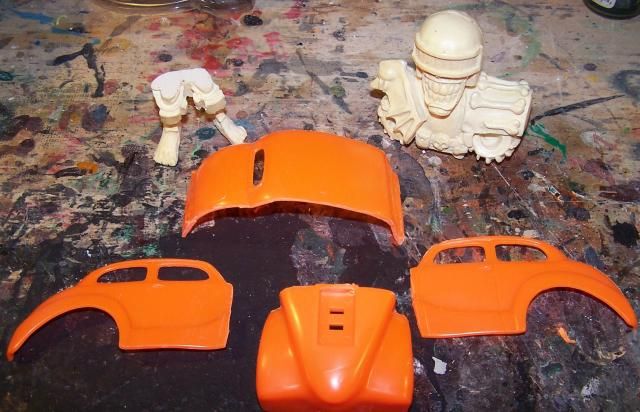
Using liquid cement reinforced with super glue, I added a little more than a half inch to each side of the body.

This gave an interesting curve to the body and gave me enough room to squeeze the Judge in....after I cut a huge hole in the roof.

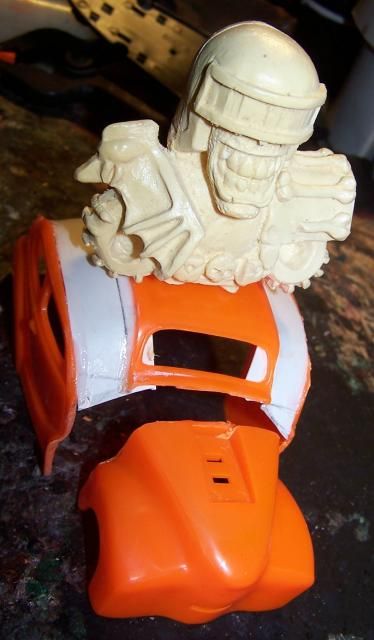
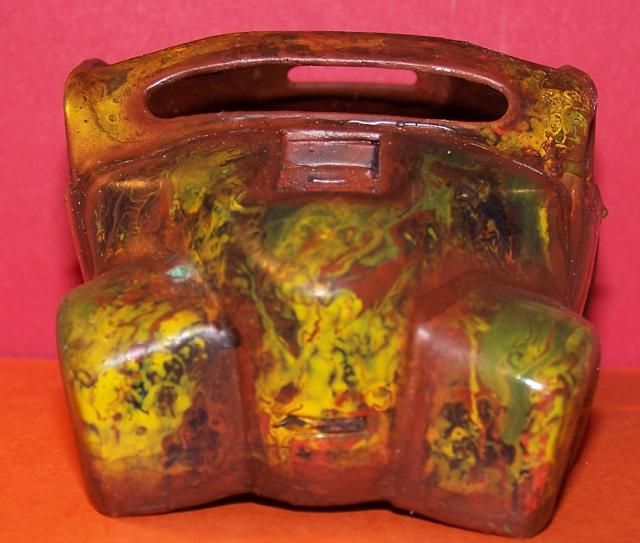
I wanted to be able to use the engine parts that come with the kit so I expanded the front clip a little differently. I separated the fenders from the hood and reattached them at a bit of an angle. I filled the resulting gap with more sheet styrene.
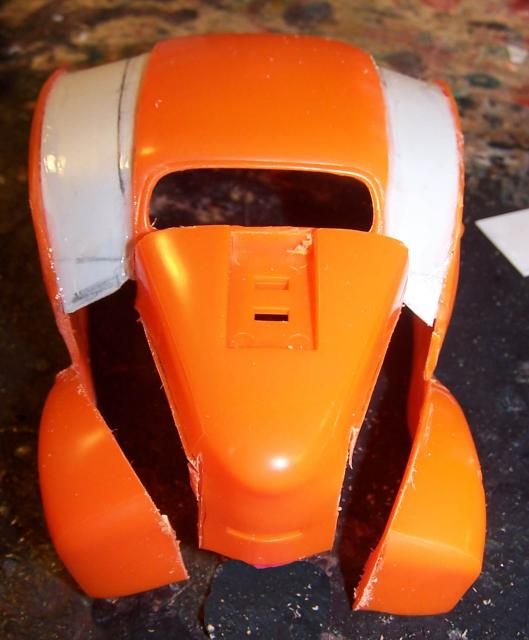
After that came several bits of scrap styrene to lessen the depth of the gap and about a half a tube of Squadron Green putty, followed by lots and lots of grinding and sanding. It may be of interest here that one thing I do to reduce the sanding time is to smooth out the putty with some Lacquer Thinner when I apply it. This helps to smooth the putty, but it also helps to keep globs of putty from obscuring desired details. The Lacquer Thinner won't affect the plastic if you use it sparingly and quickly.
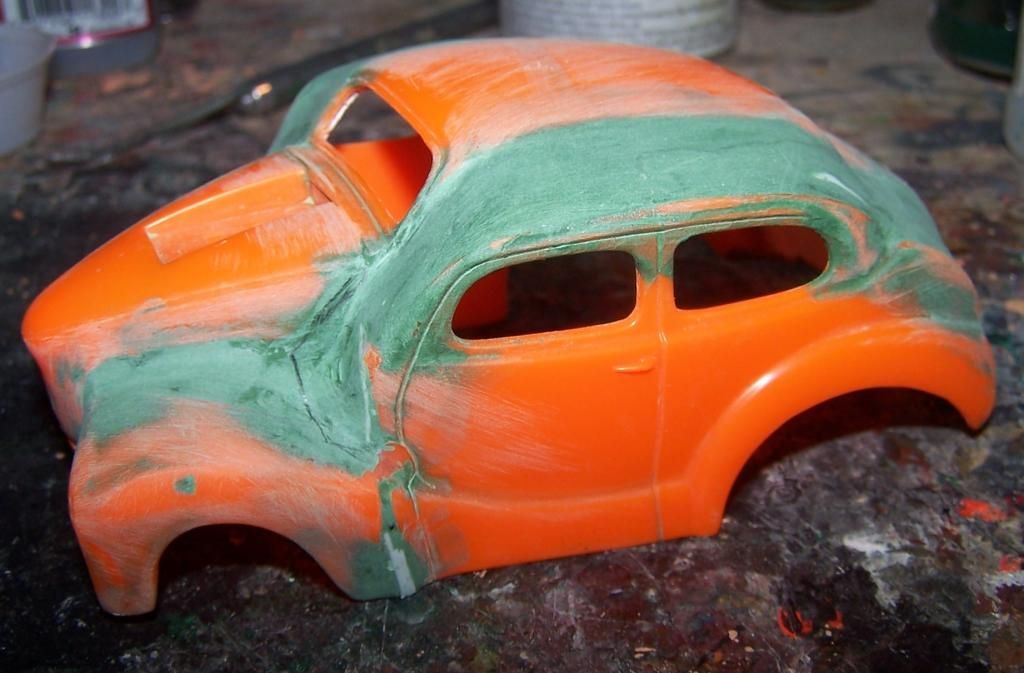
I'm thinking of stretching out the windshield so it doesn't have such a Cyclopean look and the expansion is tied together more.

The Judge is now in a seated position and has had some putty work done as well. I'll be extending his arms for steering and shifting and I'll probably build him a seat as well.
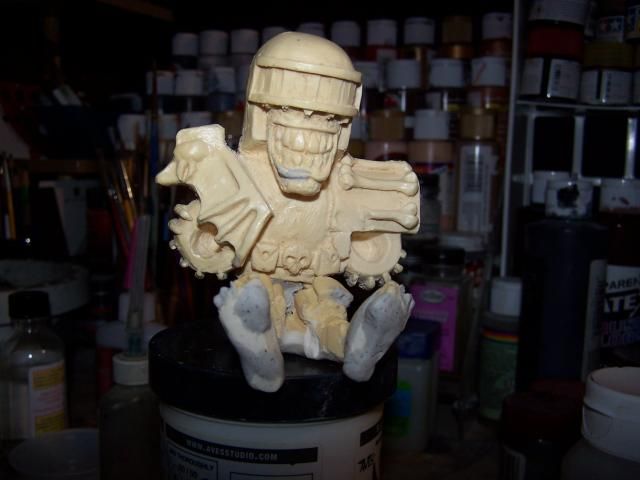
This is my progress so far, there's much more to come.

Because the Judge was a bit too wide for the little car I had to do some expansion. Taking a page from Ira the Fearless's book, I got out my Dremel saw blade and mercilessly cut the body apart in order to fit the Judge's broad shoulders. I also sliced the Judge at the waist to get him into a sitting position.

Using liquid cement reinforced with super glue, I added a little more than a half inch to each side of the body.

This gave an interesting curve to the body and gave me enough room to squeeze the Judge in....after I cut a huge hole in the roof.


I wanted to be able to use the engine parts that come with the kit so I expanded the front clip a little differently. I separated the fenders from the hood and reattached them at a bit of an angle. I filled the resulting gap with more sheet styrene.

After that came several bits of scrap styrene to lessen the depth of the gap and about a half a tube of Squadron Green putty, followed by lots and lots of grinding and sanding. It may be of interest here that one thing I do to reduce the sanding time is to smooth out the putty with some Lacquer Thinner when I apply it. This helps to smooth the putty, but it also helps to keep globs of putty from obscuring desired details. The Lacquer Thinner won't affect the plastic if you use it sparingly and quickly.

I'm thinking of stretching out the windshield so it doesn't have such a Cyclopean look and the expansion is tied together more.

The Judge is now in a seated position and has had some putty work done as well. I'll be extending his arms for steering and shifting and I'll probably build him a seat as well.

This is my progress so far, there's much more to come.

