|
|
Post by yekoms on Oct 8, 2017 18:17:02 GMT -5
I figured that the Apoxie Sculpt stuff worked good enough in the wheel well area that I'd try it as the rough in layer of body filler. Kind of like All Metal if you're familiar with 1;1 body stuff. It was also a good time to try out the small sandin' blocks. It all seemed to work out pretty good. I'll finish it off with some Tamiya putty. 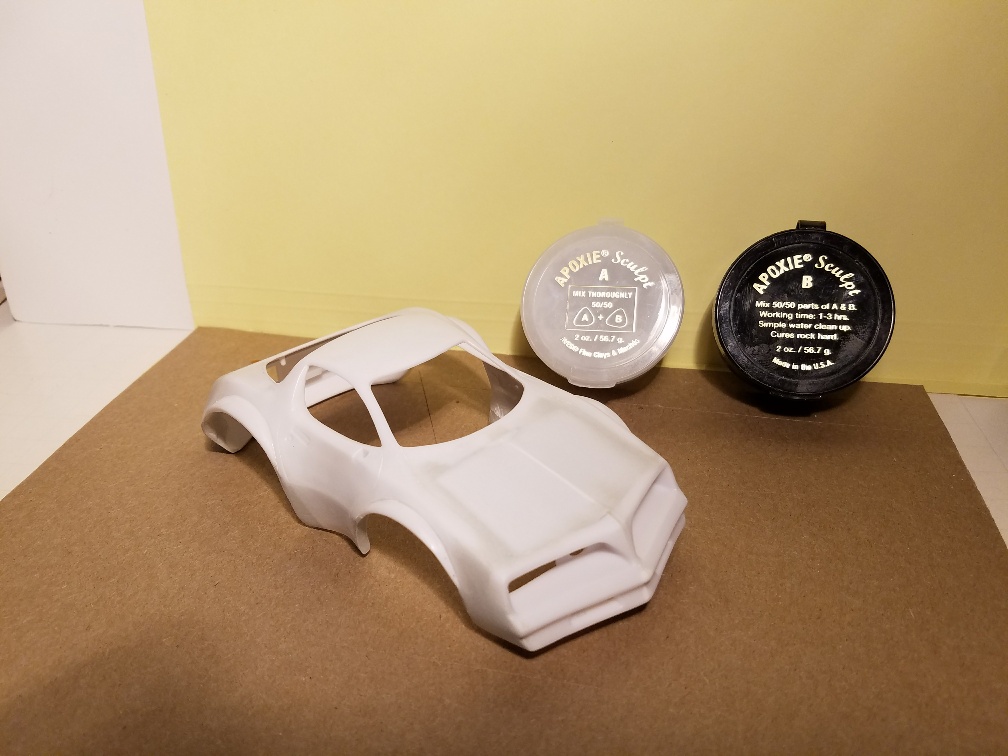 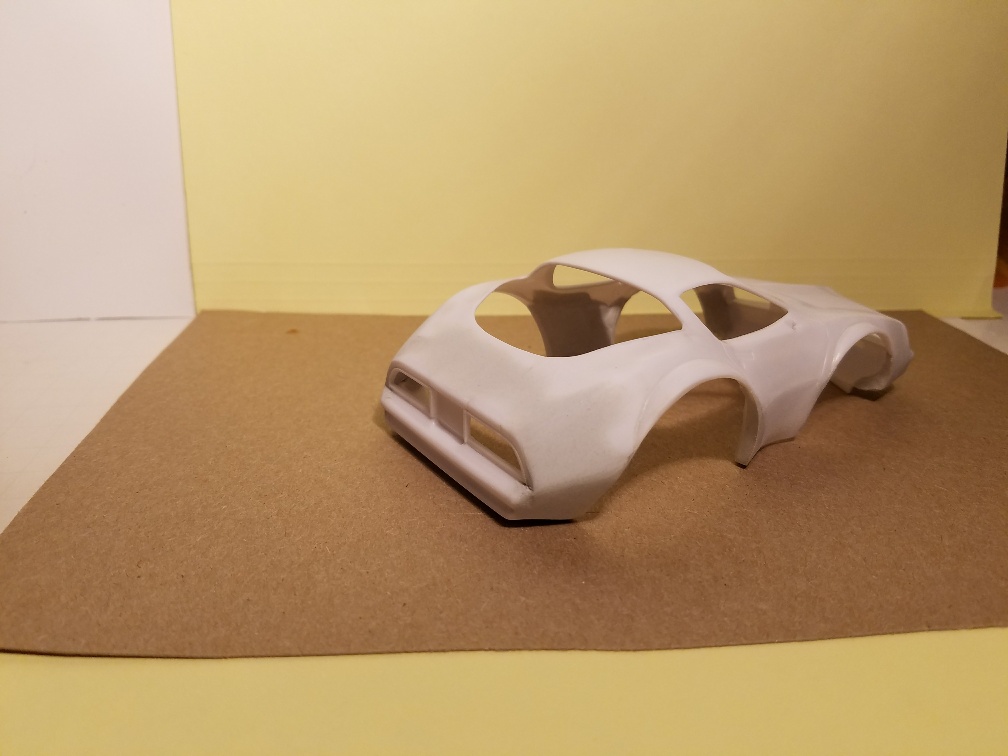 |
|
|
|
Post by modelcarfan on Oct 8, 2017 22:55:55 GMT -5
This is coming out really well and I would like the information on how to get these sclupy thing you used. Looking forward to the results at the end  Ride on , buddy . |
|
|
|
Post by grumpygrowly on Oct 9, 2017 9:53:16 GMT -5
Great progress!
I use the Apoxie Sculpt too. I have found that if you let it set to long before working, it can rip the skin off your fingers. (I have a pic if needed) So only mix what you need now. I have had my batch for over 4 years now, good as day one. For those who don't use filler often it is a great buy due to its long shelf life.
|
|
|
|
Post by yekoms on Oct 9, 2017 18:25:01 GMT -5
This is coming out really well and I would like the information on how to get these sclupy thing you used. Looking forward to the results at the end  Ride on , buddy . Thanks for the good words...I think that there are similar sculptin' products out there...I got the Apoxie Sculpt from Amazon... Cheers,Smokey |
|
|
|
Post by yekoms on Oct 27, 2017 19:43:50 GMT -5
GrumpyGrowly said "I like to challenge myself" With that said I'm attemptin' to modify the Fonz into Jim Rockford to put into the Firebird build.the other head is from the DW VW van for size comparison. 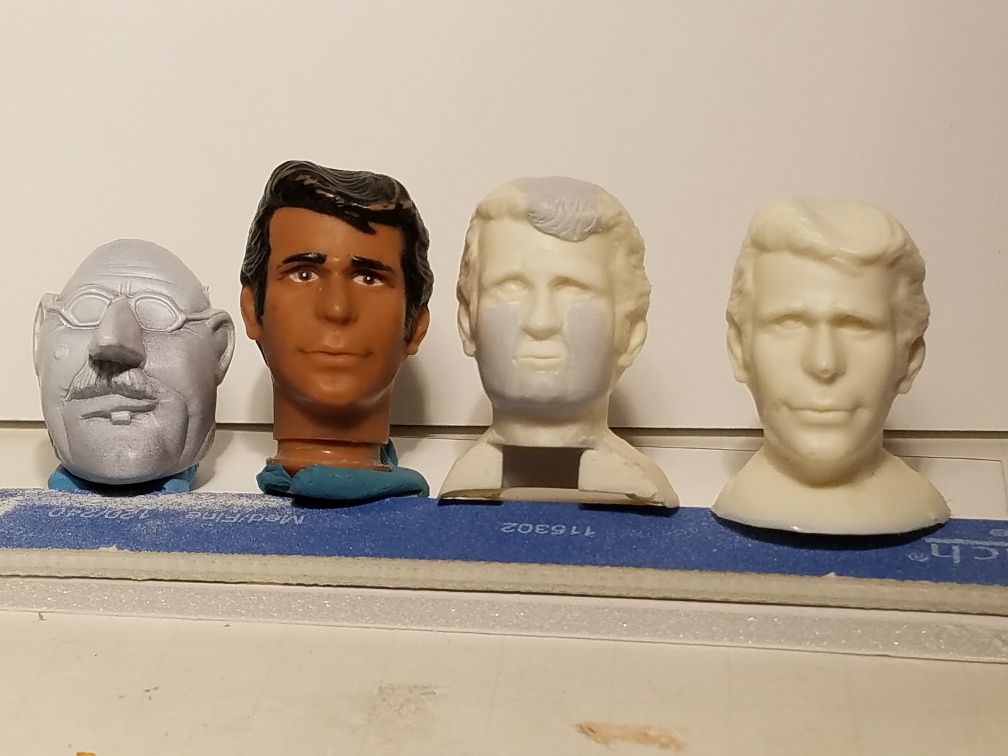 |
|
|
|
Post by grumpygrowly on Oct 28, 2017 15:26:18 GMT -5
Oh, he is awesome!
|
|
|
|
Post by yekoms on Nov 19, 2017 11:00:28 GMT -5
I learned a couple things by doin' some quick modifications to the first Fonz head. Now I made a Pennsylvania Dutch facial recognition program (picture,ruler and a pen) to start at the top of the head and work down to make Rockford. After the nose was trimmed smaller the mouth and chin area was moved up. I screwed up the first mouth attempt (gray primed head in picture)so Fonz gave up another chin. cheeks and chin will be next. 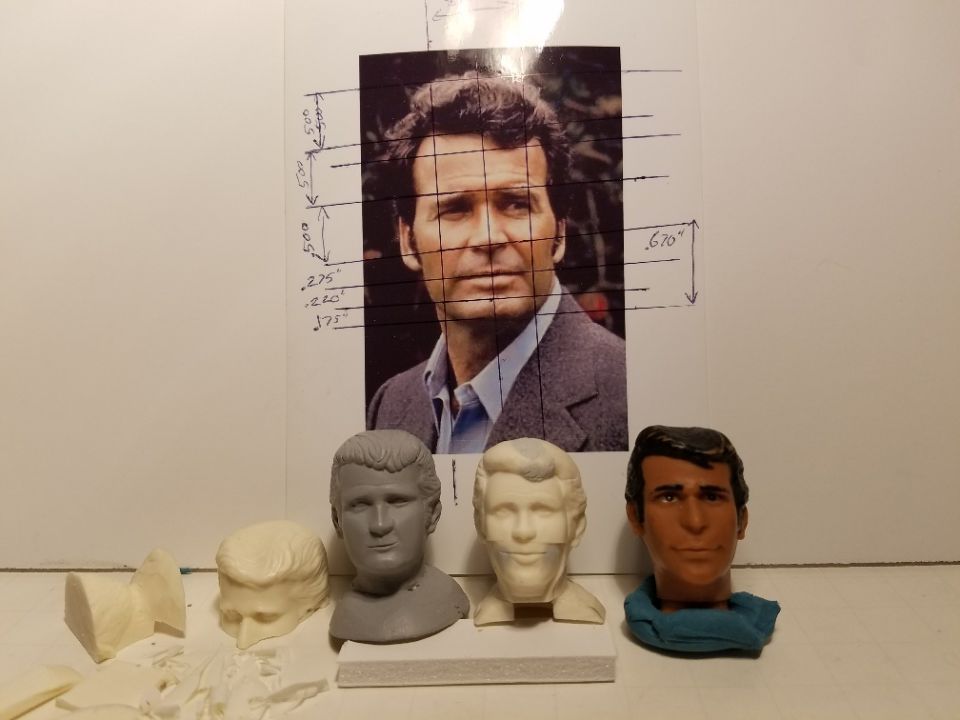 |
|
|
|
Post by yekoms on Nov 19, 2017 11:11:42 GMT -5
Back to the car...I got 1:18 tires and wheels. Then wanted bigger diameter rear tires with the same wheels. I wrapped the outside of one of the tires with a strip of rubber to get the diameter bigger,filled the sidewall with clay to make master for the mold. The cast tire sidewalls were smoothed then smoothed out. 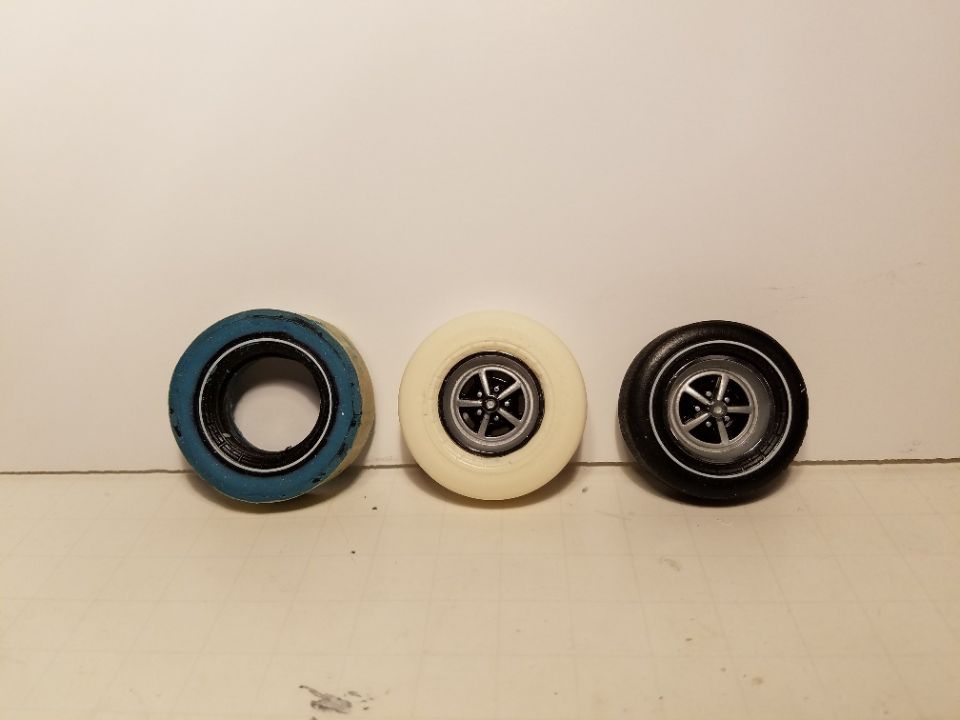 |
|
|
|
Post by wardster on Nov 25, 2017 21:55:53 GMT -5
This is coming out really well and I would like the information on how to get these sclupy thing you used. This isn't exactly what you asked for, but it might be helpful to some folks, so ... please know that "Magic Sculpt" is another (similar) two-part sculpting (and seam filling, etc.) product. Google "Magic Sculpt" or "Magic Sculp," if you're curious. (It goes by both names.) It's not as well known to modelers, but some folks swear by it. Having tried Aves' stuff and the Magic Sculpt stuff, I like them both, well enough, for a variety of tasks ... but for smoothing purposes, and some other reasons, I like Magic Sculpt a bit more, and tend to make it my go-to epoxy putty. Why? Because water is really all that is needed for smoothing. (The Aves brand stuff prefers their own "safety solvent" for best results; and it seems to me that a lot of products claim they only need water, but it isn't always a claim I'd agree with.) Anyway ... I also like MS more than most other epoxy putty products because if a crack or a seam shows up after primer (or even on the nearly-finished paint job) it's super easy and non-stressful to fill that crack or seam area without disturbing the rest of the paint job, via chemical attack or by being overly-sticky. I've drilled holes in the dried stuff, and tapped threads in it. And it survives the Purple Pond, too. (Which I've never tried with Aves Apoxy Putty.) But all that said ... check out what's available on Amazon dot com, and pick up any of the brands. It's fun stuff to play with! Okay ... back to the thread, already in progress! :-) |
|
|
|
Post by modelcarfan on Nov 26, 2017 12:06:33 GMT -5
Thanks wardster, Will check that out... and might will grab one..  |
|
|
|
Post by yekoms on Nov 26, 2017 15:23:43 GMT -5
Thanks Wardster, I'm always up for info and wantin' to learn from other folks experiences. I try to share my experiences when I can also. I'm findin' so far that I'm more of a blob sculpin' stuff on close and sand it where I want it more so than sculpin' it. For the small things that I have done, which all have been posted on this site, with the Aves Apoxie Sculpt I've used water with good results. After it is mixed Aves likes to sit for a few minutes before you start usin' it to let the sticky reduce itself. Cheers,Smokey
|
|
|
|
Post by yekoms on Dec 10, 2017 16:04:17 GMT -5
I'm makin' some progress on both builds by jumpin' back and forth between the two of them. Firebird got its first coat of primer,interior from the 1/25 kit, and enough of a chassis to hold the tires and wheels. The ride height isn't set yet. the body is just draped over the tires. Rockford's head is comin' along OK too. 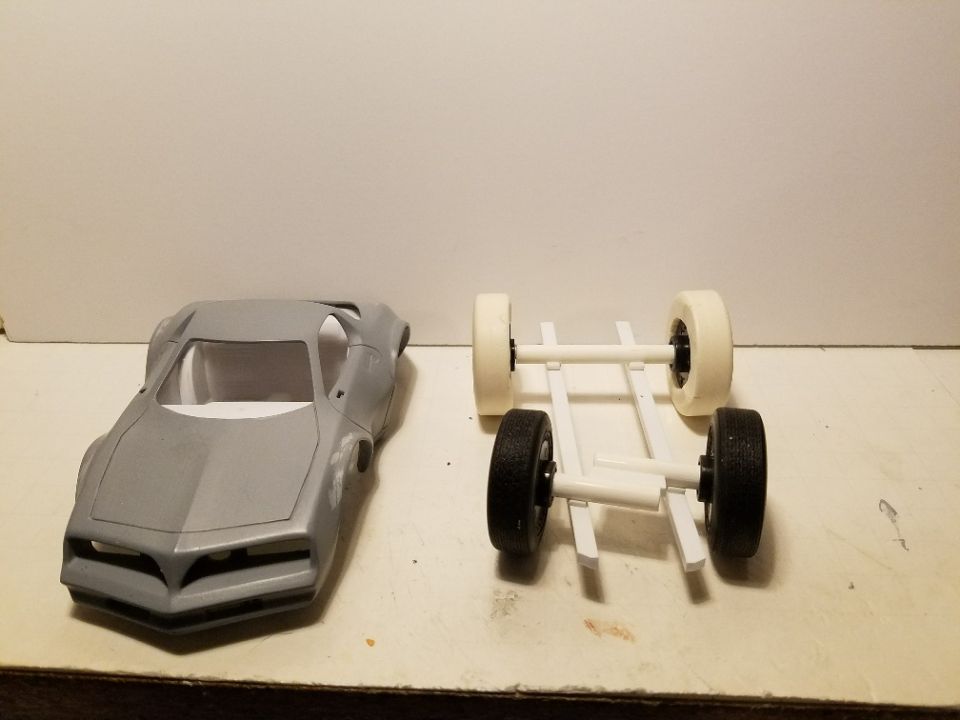 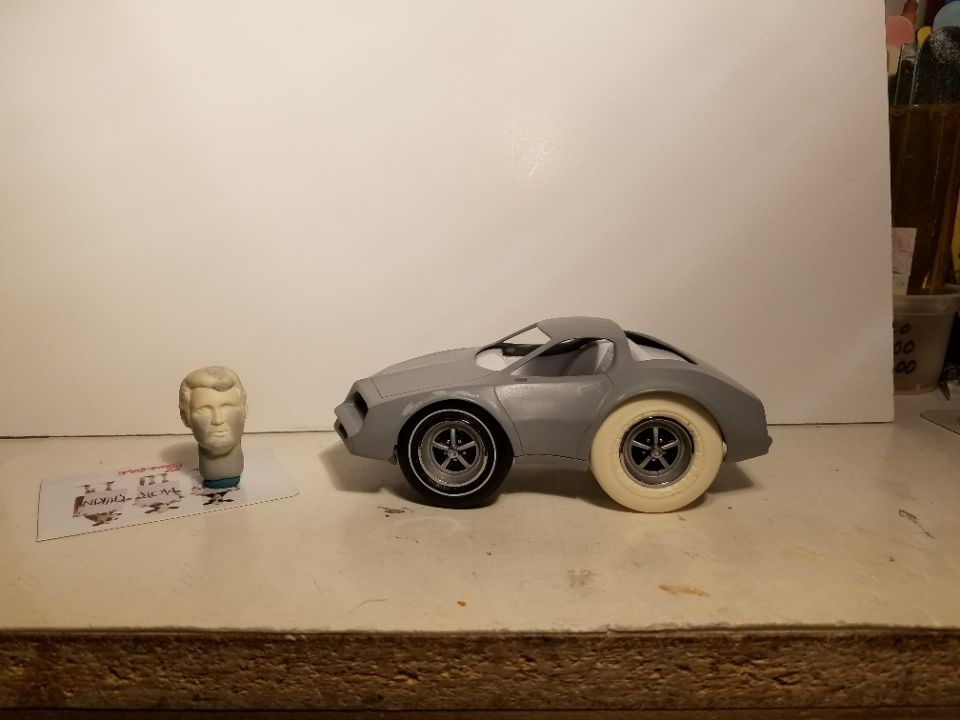 |
|
|
|
Post by TooOld on Dec 11, 2017 7:17:42 GMT -5
Lookin' good Smokey !  |
|
|
|
Post by brizio on Dec 11, 2017 10:48:53 GMT -5
Great job!
|
|
|
|
Post by yekoms on Jan 20, 2018 22:27:09 GMT -5
Made a little more progress...Rear tires are painted,started on interior paint and started makin' street as a base. Yes there will be tire marks on the street. 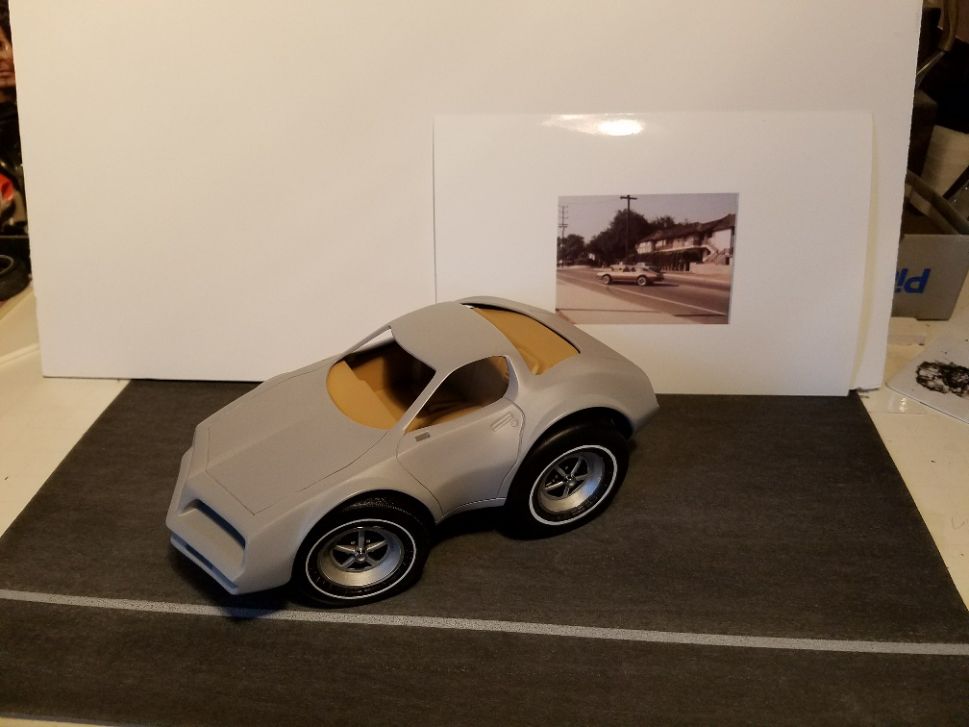 I don't get 'em done as quick as that Growly guy or Doe but, I'm pluggin' along with all three builds. Cheers,Smokey |
|

