|
|
Post by wardster on Oct 10, 2013 12:17:03 GMT -5
Ya gotta love Revell re-releasing the "Glitterbug" kit, from the Deal's Wheels series of 1970s caricature kits. I'm sure we'll be seeing lots of builds of that popular old kit, soon. I've started two of them, myself; now that a person can lay their hands on a pristine copy of that kit, easily and for a very fair price. My first build-up's general direction I'm sure will be clear to many fans of the series ... but keep the subject line in mind, too; if you're trying to picture it done. 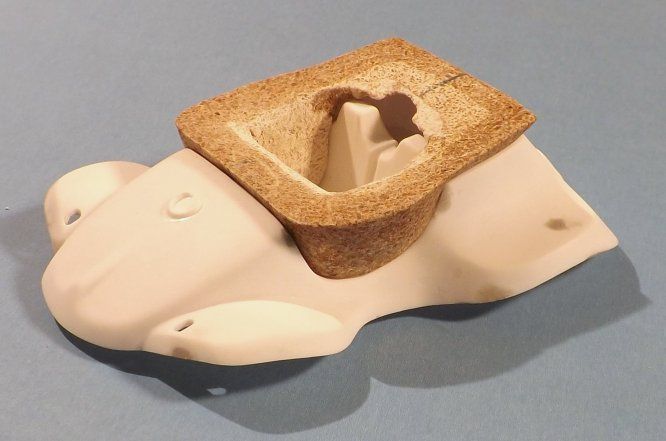 |
|
|
|
Post by Starryeyes on Oct 10, 2013 19:42:00 GMT -5
Ya gotta love Revell re-releasing the "Glitterbug" kit, from the Deal's Wheels series of 1970s caricature kits. I'm sure we'll be seeing lots of builds of that popular old kit, soon. I've started two of them, myself; now that a person can lay their hands on a pristine copy of that kit, easily and for a very fair price. My first build-up's general direction I'm sure will be clear to many fans of the series ... but keep the subject line in mind, too; if you're trying to picture it done.  hmmmmmmmm ........ . . . . . . . |
|
|
|
Post by wardster on Oct 12, 2013 3:46:23 GMT -5
Here's a bit more progress. Still a long ways to go, but now there's less left to the imagination.  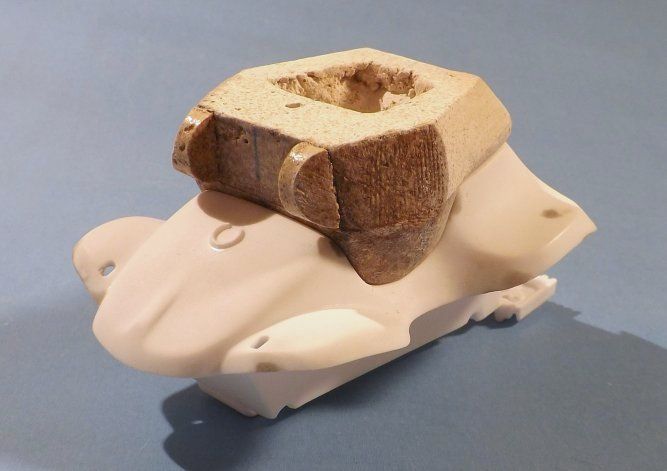 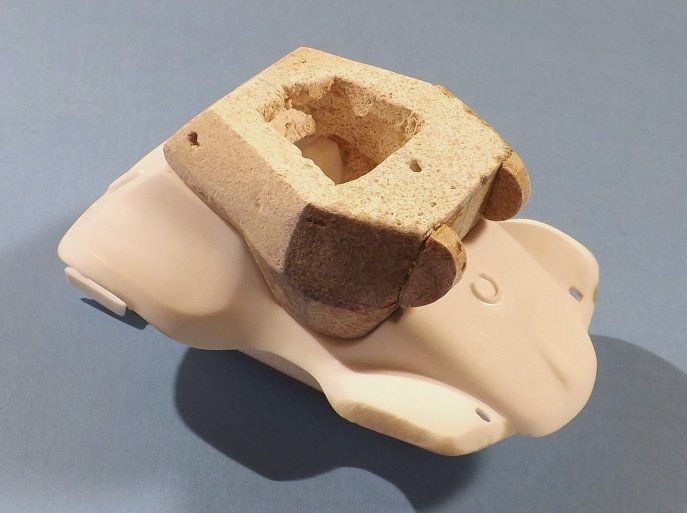 Basically where I'm going with this is to make myself a Swine Hunt "never was". Sort of, anyway. Instead of taking a cartoon dune buggy model and blopping a form-fitting turret on top, with some WWII German-looking features thrown in, I'm doing that ... except that I'm using the Russian T-34 / 76 tank from WWII as an inspiration. Part of the logic behind that choice being: if I'm carving something from raw materials (a mixture of "plaster and vermiculite," in this case) and using limited photos of the real thing, (in this case, that being the original issue "Swine Hunt" turret's shape) there are going to be a number of differences from the original item. Why not take advantage of that idea that diferences are inevitable, and think laterally ("outside the box") a bit ... and intentionally make a completely different turret? That way, if Revell ever re-releases the "Swine Hunt" kit -- and wouldn't that be cool!? -- I'll have a companion kit to go with it; rather than an obsolete "copy". Anyway ... doing it is fun. That's probably all the explanation I really need. (Heehee!) |
|
|
|
Post by Starryeyes on Oct 12, 2013 8:53:06 GMT -5
Well played sir ! .. are you going for cartoonish tracks or sticking with the "ole reliable" tires ? Outstanding work by the way ..
|
|
|
|
Post by wardster on Oct 12, 2013 16:10:52 GMT -5
Well played sir ! .. are you going for cartoonish tracks or sticking with the "ole reliable" tires ? Outstanding work by the way .. Thanks much! Definitely tires. And the VeeDub engine, too. And so on. To me, anyway, as a long-time fan of the "out of the box" thinking (and sense of humor) that went into the original 1970s "Swine Hunt" kit, the whole "We're not even gonna disguise the obvious Dune Buggy kit parts" vibe was always part of the crazy appeal of what Big Deal and Revell had done. I still have fond memories of holding that kit box in my hand, when it was still new in stores, and thinking "What the hell?!" ... and buying it, because it just seemed like it would be crazy of me not to pick that one up, and go build it. I'd had second thoughts about other kits in that same line, and waited ... only to have someone else get it. With the SH, I didn't risk losing it! Pretty much I'm planning to stick with using what's in the box; other than adding the scratch'ed (scratch-built) turret. There may be a few minor deletions, perhaps; but not many substitutions. Things like the GB's windshield, for example, would be hard to put to use with a turret and a cannon in the way. And I filled in the hole in the left rear fender for the big CB antennae, partly just to do something different; and partly due to the Russian's early tanks not having much in the way of radio gear. (Later in the war they had changed / upgraded tactics and apparently added more radio gear.) Just personal choice stuff; but mostly, I want to stick to what's supplied. For others looking at the Glitterbug kit and thinking "Swine Hunt" -- know that there's a table-top game called "Dust" which has some pretty cool, stylized Russian WWII decals I may use. Five bucks per sheet, shipped; and very high quality. I'll worry about what decals to use, though, when I get to that stage of things. They also have some really cool, made-up German WWII decals: for those lucky enough to have the raw parts (resin castings?) to take the "new" Glitterbug kit, and to add the bits that turn it into the Swine Hunt. Just sayin' that the new kit has lotsa cool possibilities!  ADDING ADDITIONAL PICS, MUCH LATER: ADDING ADDITIONAL PICS, MUCH LATER:
Okay -- these next pics weren't originally here. I'm adding them in, retro-actively ... way later! (July 2014) ... to "tell the story" better this time around. These were pics I had taken at the time the work had happened, but couldn't find time to go through / adjust lighting on / upload / so forth. But late beats never ... 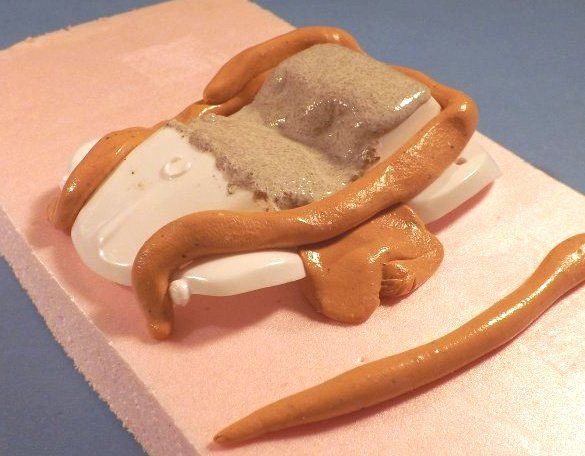 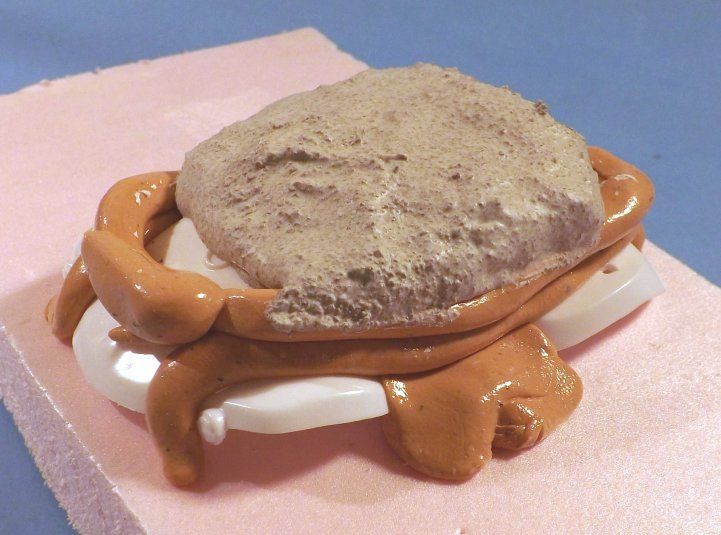 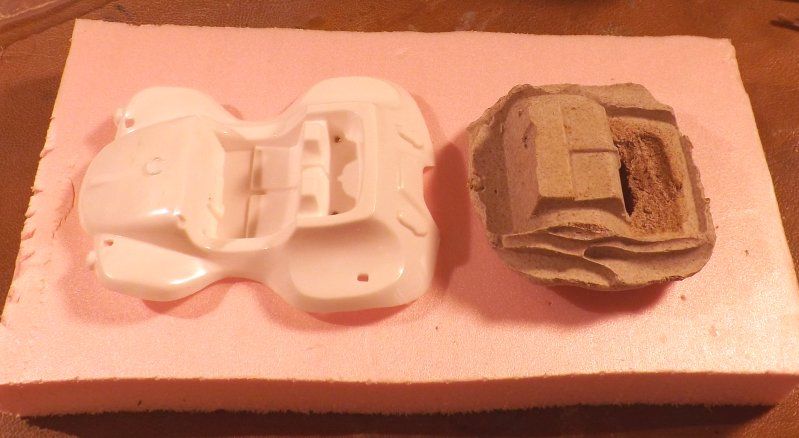 |
|
|
|
Post by TooOld on Oct 13, 2013 11:34:14 GMT -5
I was thinking "Panzer" . . . should be a fun build !  |
|
|
|
Post by wardster on Oct 13, 2013 20:29:41 GMT -5
I'll explain this weirdness in a bit, but for now just know that these are "texturing" shots: 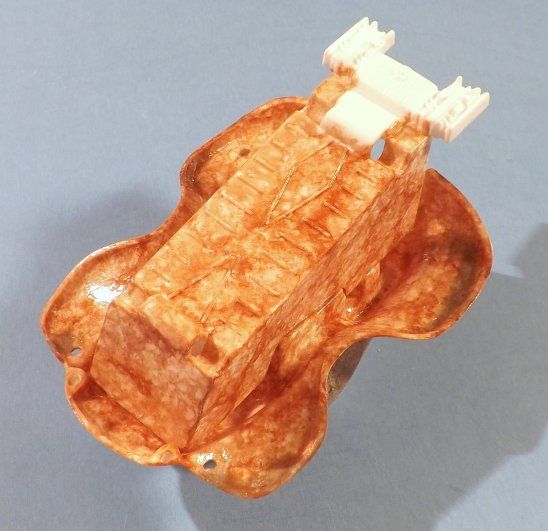 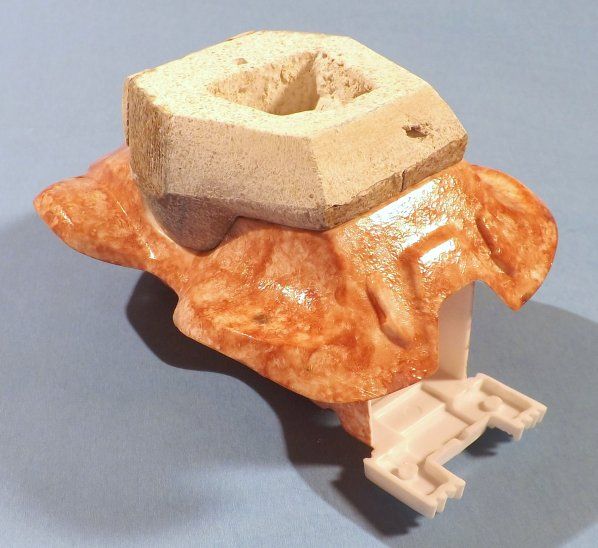 And this is that same thing after some of the earliest paint work -- basically, the start of the basecoat and initial weathering; but not farther than that, for right now. 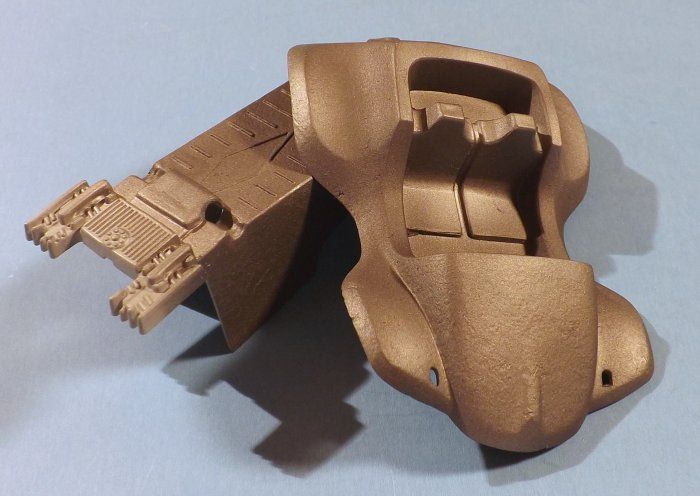 As far as the texturing work goes: what you're seeing is bunches of Tenax 7-R liquid cement, applied a little at a time with a really old, pathetic, course, synthetic-bristled brush; using a rough stippling sort of action to "jump up and down" in the same softened spot. Basically just wet a small area with the liquid cement, and then keep "jumping in the mud puddle" that results, with the nasty old brush ... till that small puddle has dried up. And then repeat, in a spot nearby ... and then repeat, somewhere else ... till you have everything you want to have some added texture, textured. Sounds like it takes forever but since Tenax dries so quickly, and also this kit doesn't have oodles of surface area, texturing everything you see here took roughly half an hour; give or take. (Used with considerably more restraint, you can make minor rust spots on an otherwise smooth kit surface. And usually it's best to do some light sanding after the texturing, to tone things down a bit. I'm sort of intentionally over-doing things here. Sort of a "just get it in the war" kinda feel.) You're probably saying, "Okay, but Tenax is clear. Why is that kit's white plastic suddenly looking like it's tan and brown?" The reason for that is that I dyed or tinted a partial bottle of Tenax, using some brown-colored "Sharpie Juice". (Which is literally just the "juice" that is found inside Sharpie marking pens. Handy stuff to have around; and yes, Sharpie's come in more than just that one black color!) The main reason I used the dyed Tenax instead of untinted clear was visibility -- both in person, and for these photos. It's just obviously easier to see what areas you did (or didnt') already texture, when you have more than just a change in sheen to go by. As far as paint goes: it's nowhere near done, at this point. But to explain what's seen here: first up was a couple of coats of Plasti-Kote's automotive spray-can primer; but airbrushed on instead of sprayed through a can. Anyway, then I airbrushed on a light-colored custom metallic basecoat, which was made out of left-overs from several ten-year-plus-old Testors lacquer (buffable!) metallic paints. That covered the primer well, and gave a semi-light basecoat (you can still see some of it on the engine areas) ... which I then covered up with several misted coats of one of the darker old Testors "buffable" paint colors. (I'd have to look at the bottle, to see which one.) The point of the texturing and the basecoat colors I used is to give myself an under-coat of "cast iron" ... which I'll then allow to show through the final paint coats, later on, in places. Chips, etc. It'll make sense in time. (Or, hey: at least that's the plan!) ADDING ADDITIONAL PICS, MUCH LATER:
Here are s'more pics ... which will hopefully explain the how-to and why-should-ya parts of things better than I originally did: 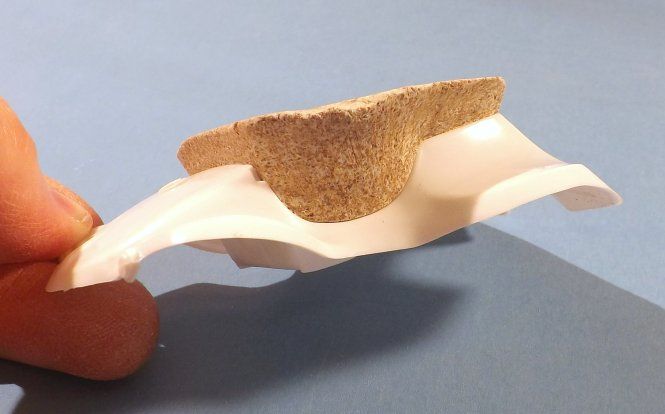 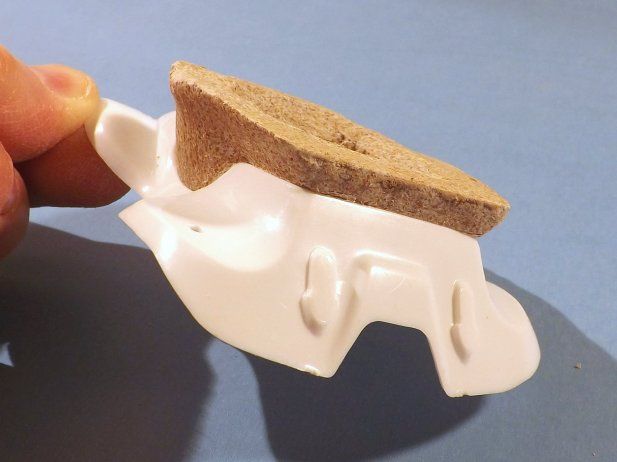 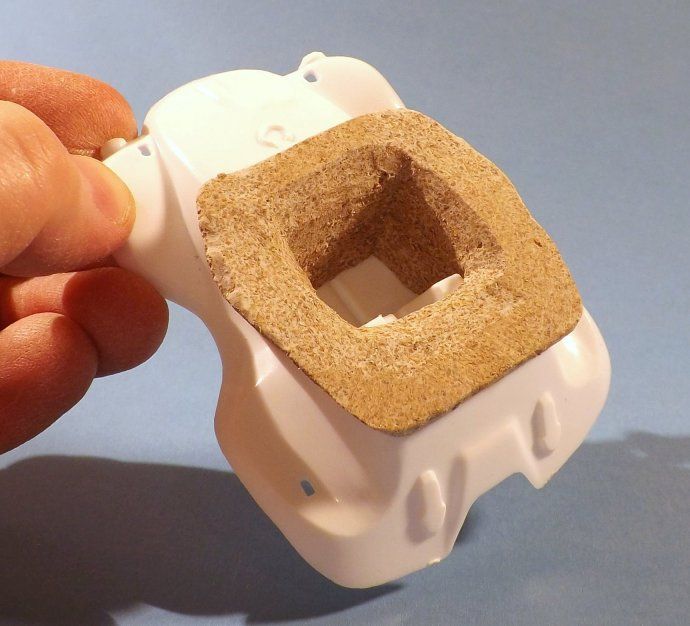 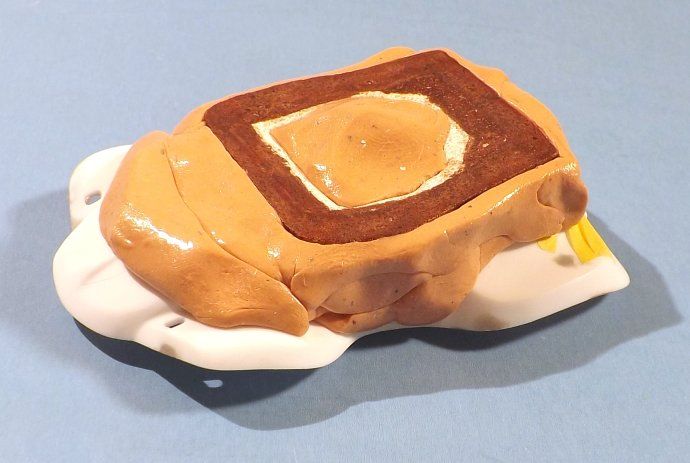 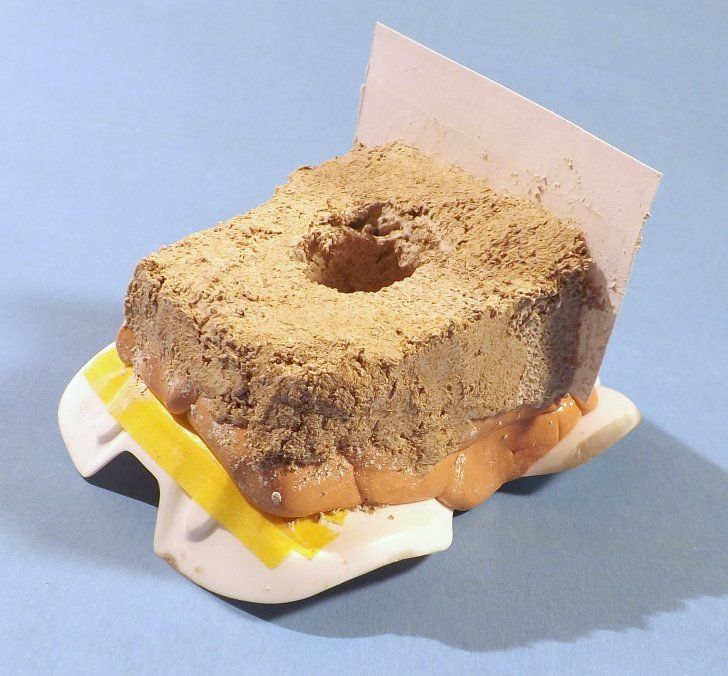 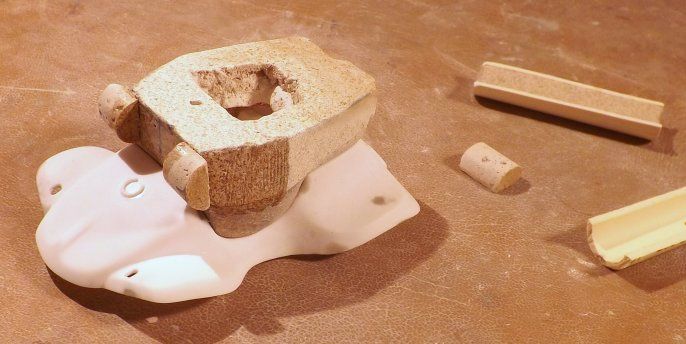 |
|
|
|
Post by wardster on Oct 28, 2013 0:44:20 GMT -5
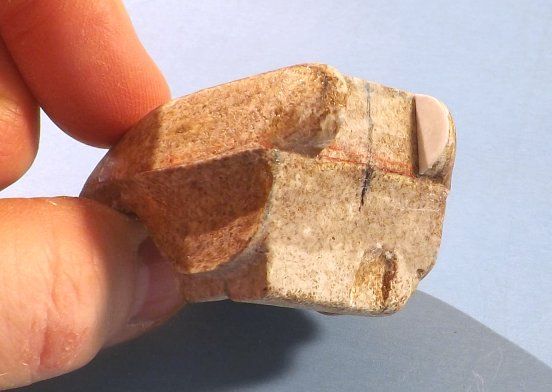
Picking up where I left off: 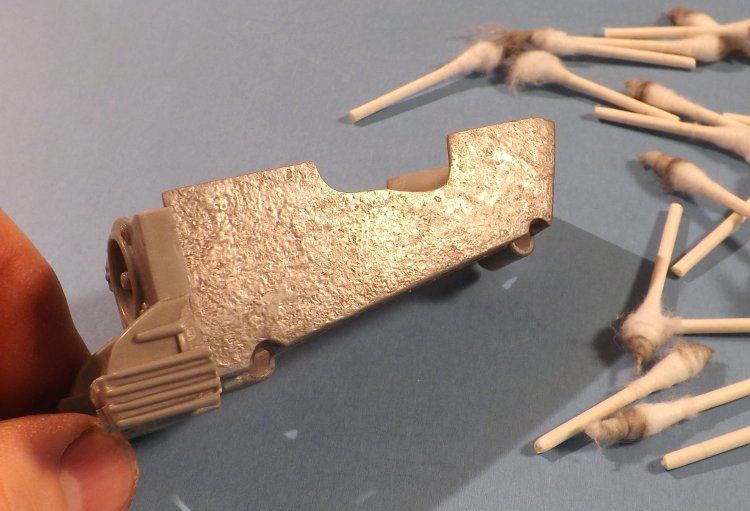 (Explaining the pic above) -- Yeah, once I had that buffable paint buffed out, it was clear that I had overdone the texturing. No biggie: I'll fix it later, with some light sanding to knock the highest peaks down; and sort of equalize things in terms of height. For the meantime, though, I just tossed the buffably-painted body and chassis into the Purple Pond: stripping those layers off, but leaving most of the gray Plasti-Kote primer. (Below.) While that was happening, I did a bit more work on shaping the new turret piece. Added a roof to it, as it were. Wanted that upper area all flat. 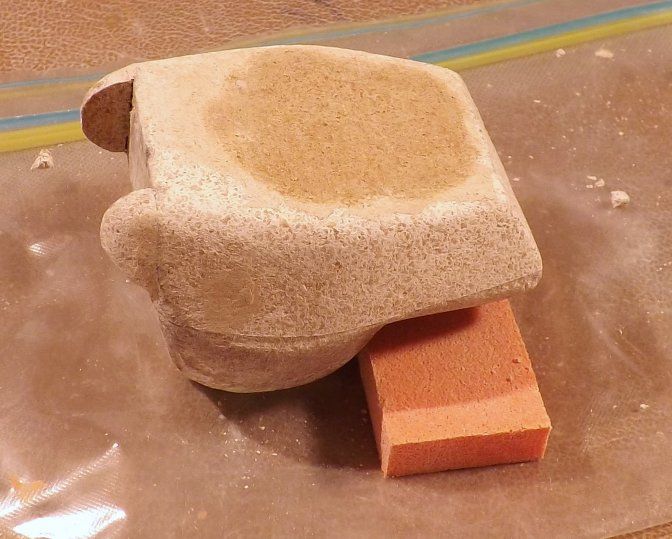 (Below.) Using a second kit's body, temporarily, just to take some mock-up shots. 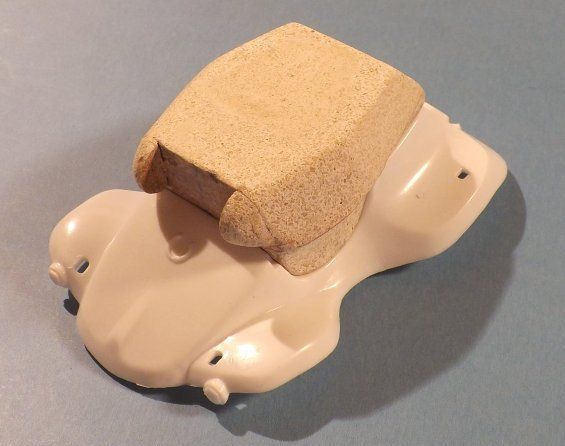 (Below.) Using the textured body, again, for pics. Didn't get to work on it for a while -- (real life getting in my way, etc.; we all know the story) -- but when I got to play with it, I did some subtle re-shaping work here or there (while staring at pics of the "serious" tank models I'm stealing ideas from, shape-wise) ... and eventually added the beginnings of a turret ring (a fiber washer from a hardware store, super-glued on) -- and later began to harden some of the surface of the turret, using that same super glue. (Zap CA's pink-label, water-thin stuff. I use that over the gel-type super glue, quite often. Just a personal preference thing.) The pics below shows only part of the surface hardened; and only then with "one layer"; but at least you can sorta tell what's hardened and what's not. 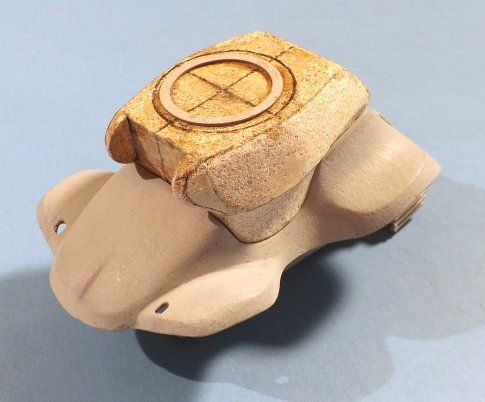 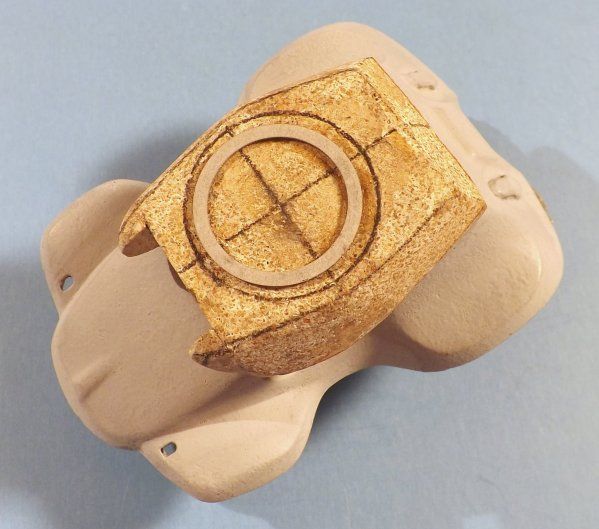 Later on, as time allows, I'll add more layers of hardening to the surface; then touch up some symmetry problems using Evercoat's Metal Glaze ... etc., etc. ... but it's just fun to be able to buy one or more pristine Glitterbug kits, for a very cheap price, and then do all sorts of weird and fun things to them. (Thanks, Revell!) ADDING ADDITIONAL PICS, MUCH LATER:
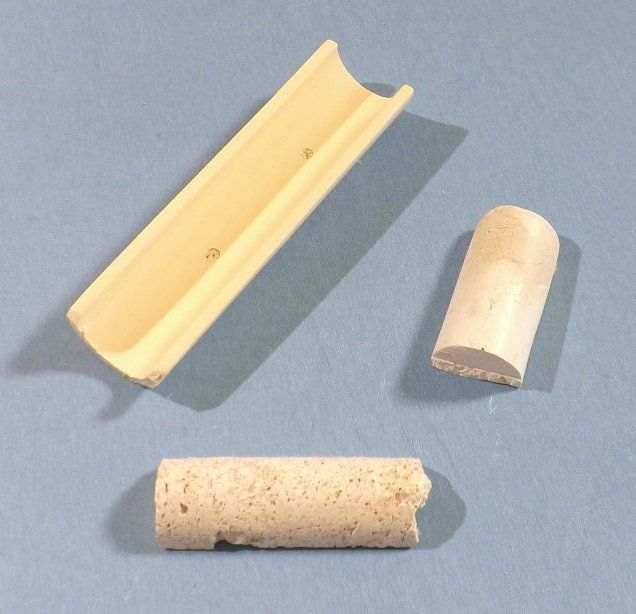
Let me say, now, that any inexplicable jumping back and forth between "stock white" and "fully textured" body pieces was just due to having two kits around. I sometimes just mocked things up in these pics, using an unmodified body and/or chassis piece. But once the textured pieces got textured, they stayed that way. 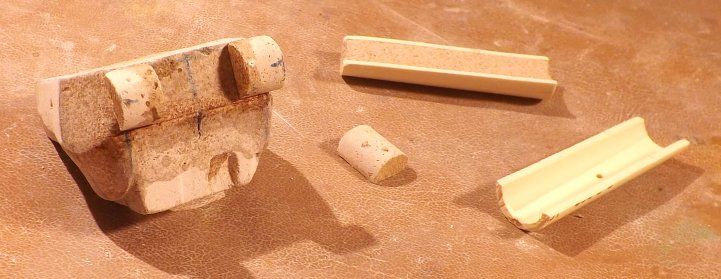 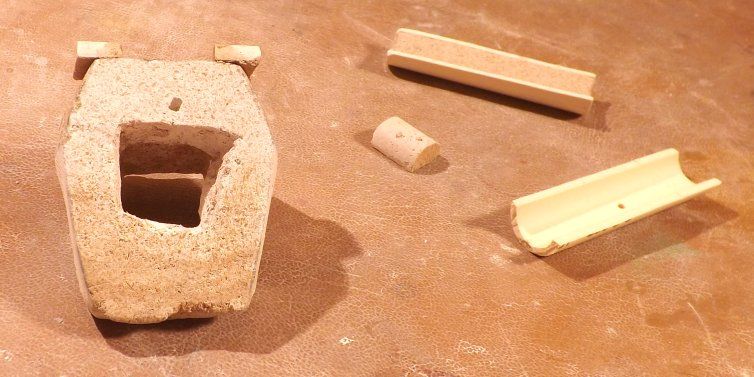 That's a bit of PVC plumbing pipe, above. I cut it open and used the insides as a mold, to make myself some "half-round" pieces. 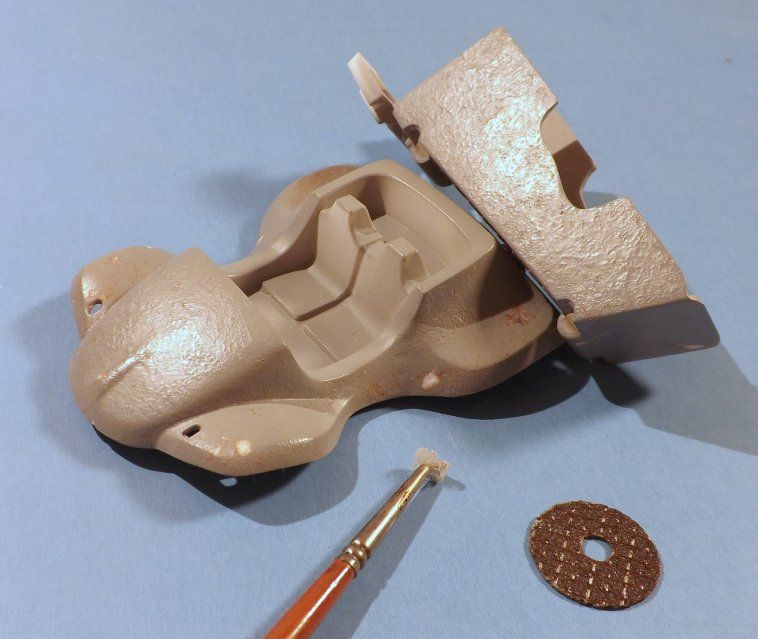 The brush above was the one I used for texturing purposes. Hopeless for anything else! But great for that use. The worn-down-too-small-to-really-use "reinforced cut-off wheel" is a Dremel brand item. I used it to scrape in some close-to-one-another parallel scratch marks, here or there. Just scrape it sideways. The almost-invisible high points do the work for you. 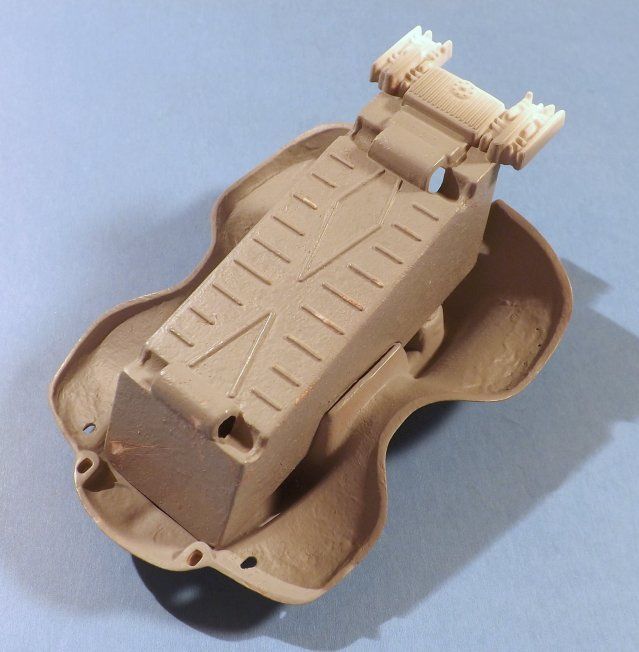 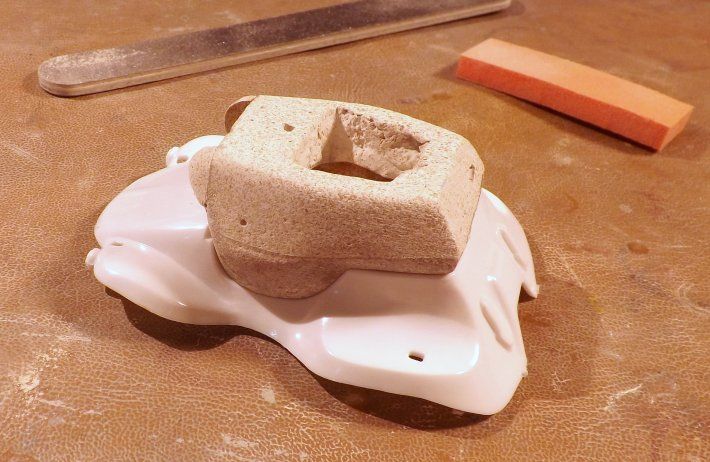 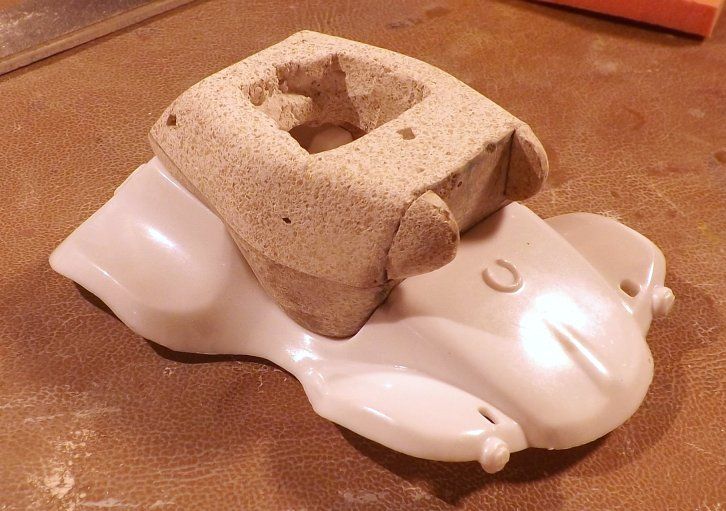 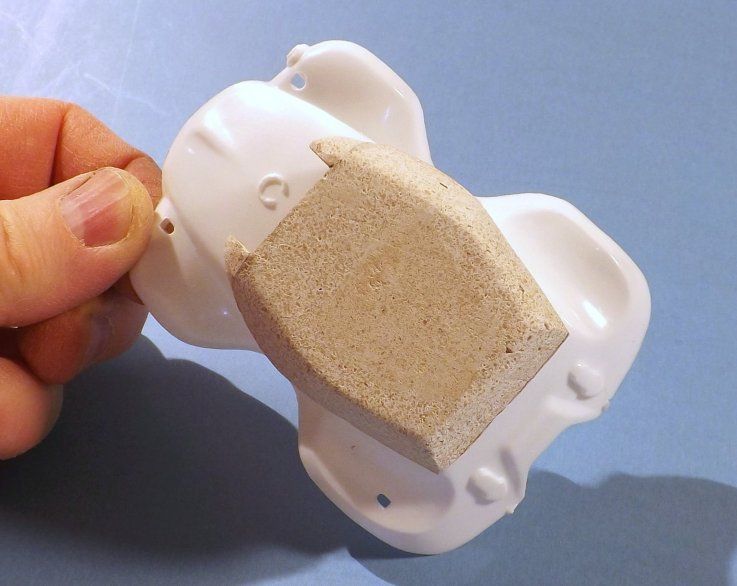 |
|
|
|
Post by ira on Oct 28, 2013 9:48:30 GMT -5
Great Progress Ward!
Thanks for the Tenex/Heavy Weathering Tip... 
|
|
|
|
|
|
Post by TooOld on Oct 28, 2013 18:41:26 GMT -5
Progressing nicely . . . can't wait to see some more detailing !  |
|
|
|
Post by Starryeyes on Oct 28, 2013 20:29:24 GMT -5
outstanding vision for a "deals never was" ... love your technique's .. very clean build .. This is on my radar ~~.............
|
|
|
|
Post by wardster on Oct 30, 2013 14:06:08 GMT -5
Thanks mucho mas, Mr. Ira, Step2, TooOld, and StarryEyes! Your kind comments and enthusiasm are very much appreciated!
As far as techniques goes -- I don't know how much I would literally claim ownership on that stuff. I just read a lot (and that's probably an understatement!) and I try stuff that I see others talking about. I might modify the ideas I steal, and/or adapt them a bit ... but I appreciate the kind comments, nonetheless! In fairness: the "plaster and vermiculite" idea was stolen from a DVD by "Spritz by Fritz" (who stole it from Ed Roth, etc.), and the "texturing with liquid cement" idea was stolen from magazine and book articles by various "serious" armor modellers.
Quick aside: there's more info about using "plaster and vermiculite" over on the "Coffin Corner 2" web forums:
coffincorner.proboards.com/thread/18447/bubbletops-make-own-shape
As far as updates on this project go: sorry, but no new pics right now (my camera's batteries took a temporary powder) ... but if it helps till I get more pics up: know that the turret in-progress peice has been "hardened" up pretty well now; and then sanded a bit, just to smooth the glue; and then primed. I used some Magic Sculp (two part epoxy putty) to fill some of the gaps around the fan shroud / chassis bits. Did a teeny bit of sanding on the over-done "roughly cast iron" texturing, too. The batteries are charging back up ... so, I'll keep at it ... and will try to take and upload some more update pics before too long.
Thanks again, guys! Really appreciated! |
|
|
|
Post by wardster on Nov 2, 2013 3:09:17 GMT -5
Update mode, again. Here's (more or less) where I'm at on this project, right now: 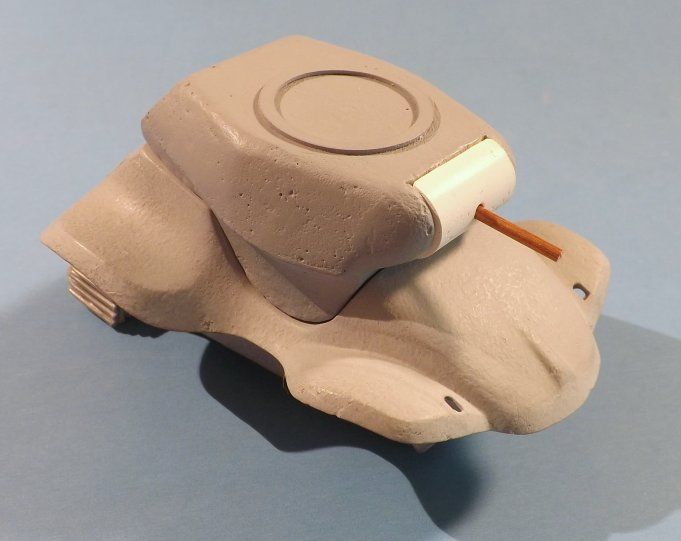 ... but I should probably back-step, briefly, and show one older pic that I haven't yet shown. It will help explain a bit about how I went about making some of the turret's add-on detail pieces. (Deleted that pic from here, since I belatedly noticed I just accidentally added it in, as a new pic, above. Either way, it's here somewhere!)
That's not the final gun, by the way; as seen in today's first pic. That's just a "slip a tube over me" place-holder, in a sense. The actual gun is being worked on ... but I'll post those pics when that subassembly's further along. ADDING ADDITIONAL PICS, MUCH LATER:
    |
|
|
|
Post by wardster on Nov 12, 2013 15:29:59 GMT -5
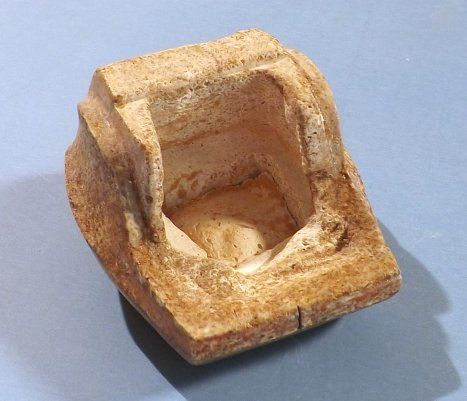
Catching up on uploading pics, again ... 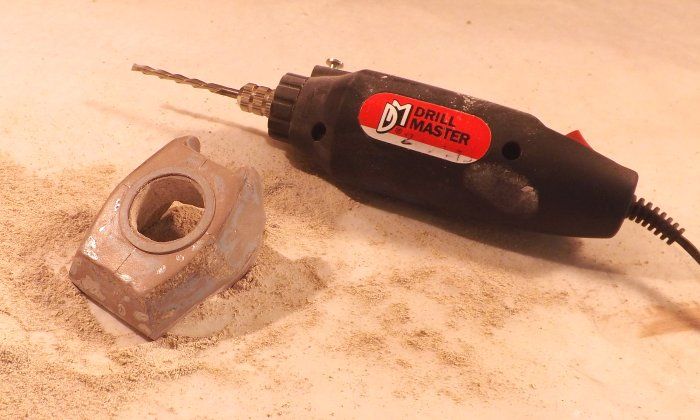 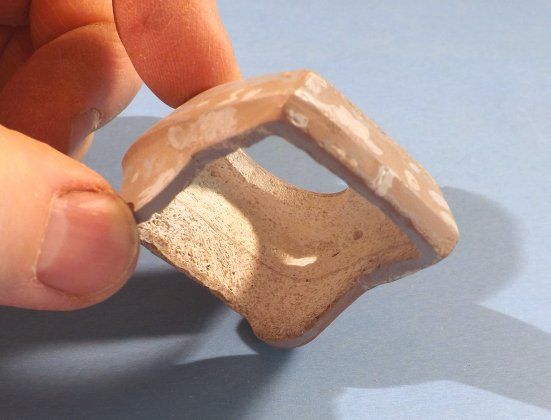 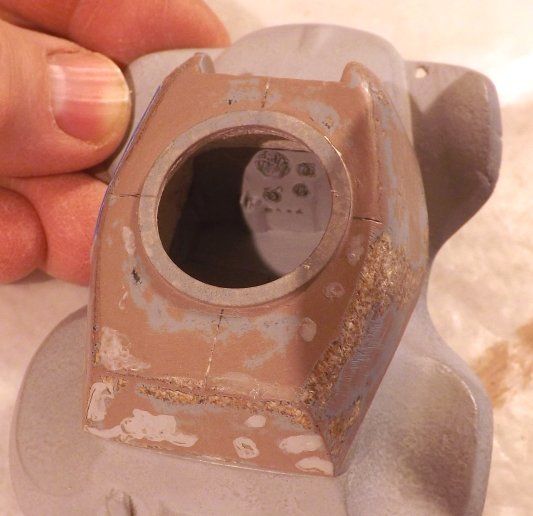 As you can see, I hollowed out the turret piece. I had planned to do that, to some extent at least, all along ... but earlier on, it made more sense for me to have those "alignment" keys or tabs still on, along the lower edges of the turret, so that the entire piece couldn't shift from side to side or whatever, as I worked on it. I wanted something that stayed in one precise spot, until I had things shaped mostly the way I wanted them. As you can see, I got a little carried away with the "grinding from the inside" routine, in that one place along the left side. No big deal: I'll need to smooth things out a bit on the inner walls, anyway; and will just add fixing that to the list of needed touch-ups. For what it's worth, I actually took many more pictures than I've uploaded, as I worked on this thing ... but I'll have to wait on any retro-active "how I actually made the turret, step-by-step" photo sequences until my leisure time frees up a bit. For now, I'm just doing what I can on this model, here and there; whilst mainly trying to work on an unrelated model that will take up much more time. I am lucky to squeeze in a bit of time on the actual model, let alone uploading photos ... hence only uploading a "taste of" sorta deal. The main thing I'm trying to do with these posts -- (and maybe it'll work better once I've found the time to upload more steps in the "how to" photo sequence?) -- is to encourage others to go buy themselves some vermiculite and something like DAP-brand "Presto Patch," and to play with this cool Old School material. There's definitely a lot of potential for the stuff, if a person plays with it enough to see what the good (great!?) points are (very cheap, very easy to work with, pretty much fume-free) and limitations (can be a bit course at times; and can feel a bit weak until you harden the surface by saturating it a bit with thin liquid super glue) ... etc. More later! ADDING ADDITIONAL PICS, MUCH LATER:
With profuse apologies for all of the hopefully-not-hopelessly-confusing, non-linear sequences going on, here, photographically speaking ... !! (I think I meant to "insert" this next shot, somewhere above ... but spaced it out, until now. Oops!) 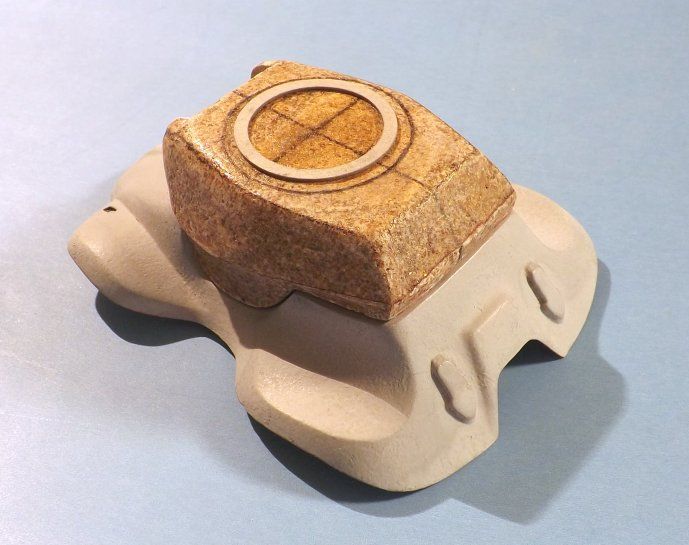 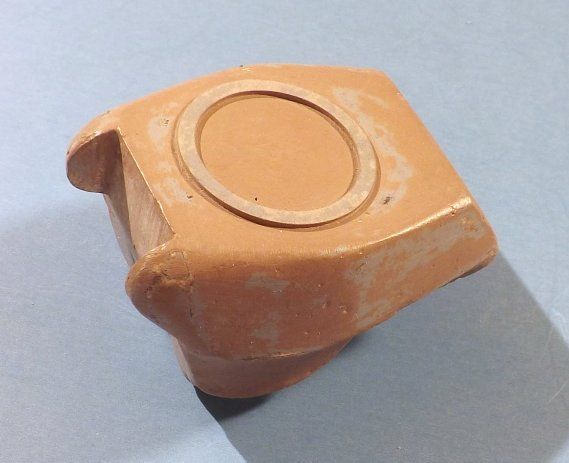 The goofy-looking tape layers in the next shot were to draw on, with a pencil. Idea being to make a cheap template, to check symmettry from side to side. Just trace the upper edges of any major features, then flip the tracing over (180 degrees) and see which lines line up, and while ones don't, from side to side. 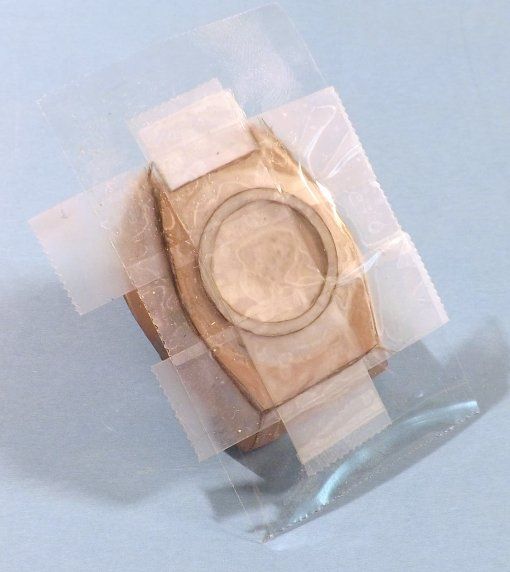 Next one's the last shot before I cut the turret hole "open". 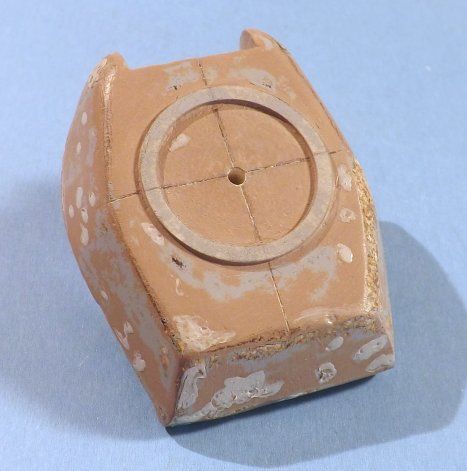 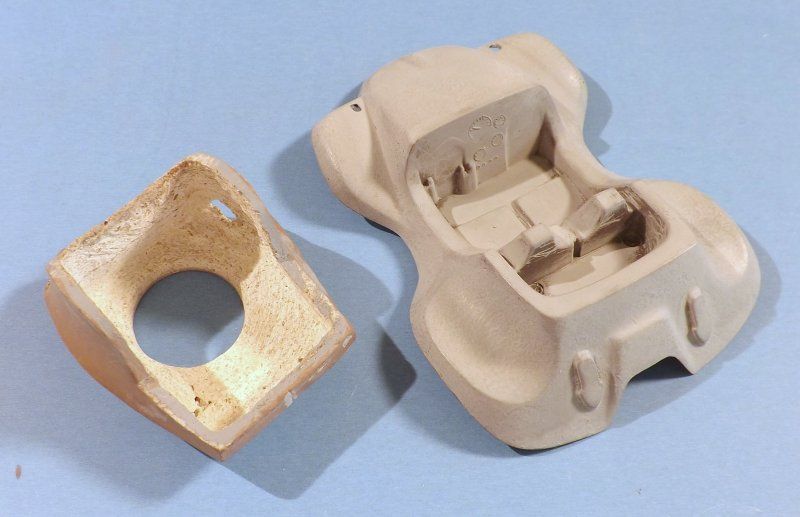 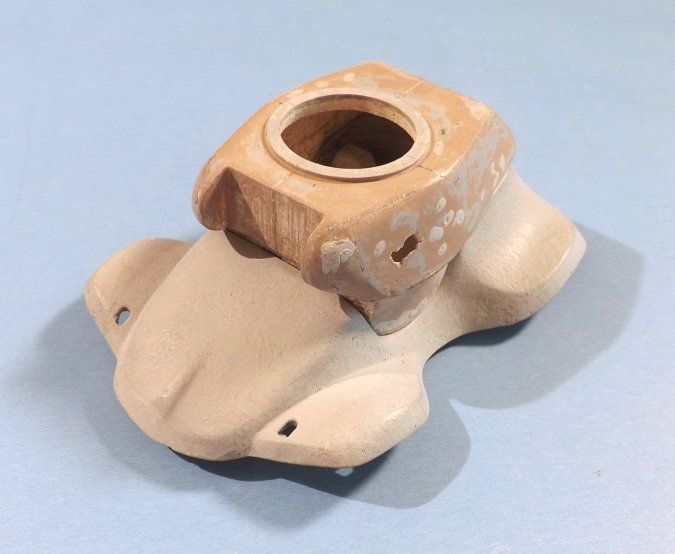 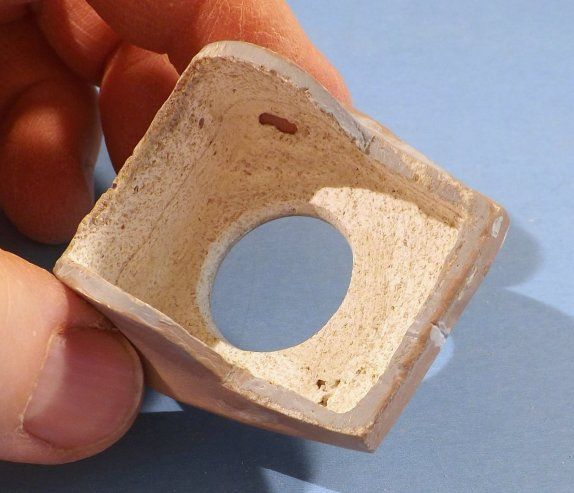 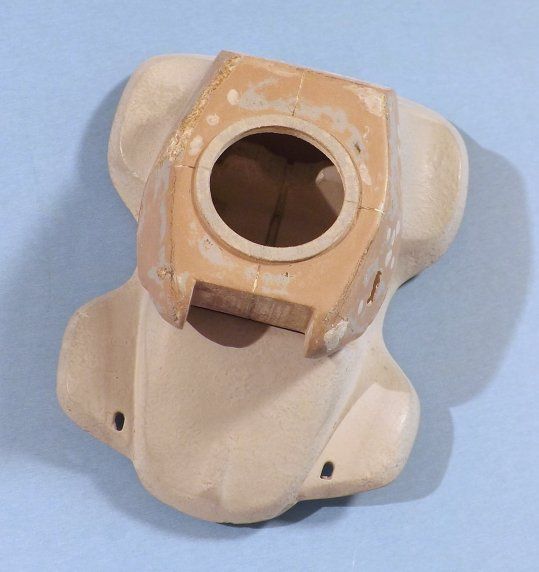 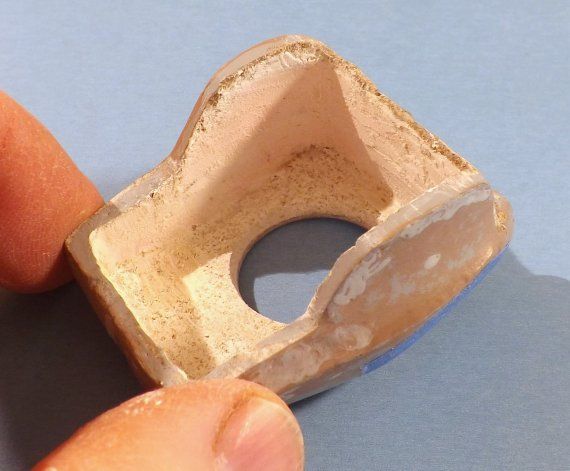 |
|

