|
|
Post by wardster on Jan 10, 2015 1:45:29 GMT -5
Howdy folks. I figured I'd start up a build thread on a project I'm working on, at present.
Backstory on the project is that board member "Fletch" and I had exchanged some e-mails, a few weeks back. Amongst other things, we had ended up discussing "Spaceman Spiff" -- a character from the great old comic strip, "Calvin & Hobbes". Many of you likely remember that comic strip fondly. And as it turns out, Fletch told me his collection included a resin kit of that subject. He told me the kit was mostly but not completely finished. (Mainly just missing a bubbletop which would fit good, etc. All he'd received with the kit was one of those clear bubblegum machine containers.) As the conversation went on, he shocked the heck out of me by telling me that I could have that kit. All I had to do was to pay for postage, and promise I'd finish it. (And if I did not finish it, I'd have to pass it on to someone who would: which I felt was more than fair!)
Bottomline is, the kit was of a subject he really liked; and he wanted to see the kit find itself a good, appreciative home.
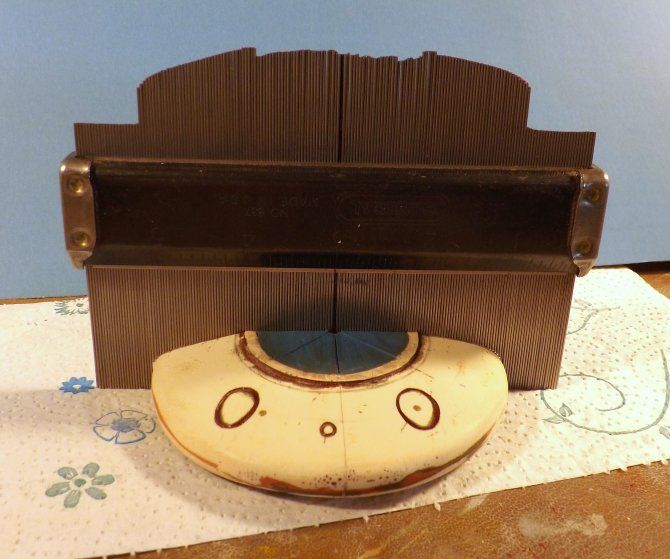
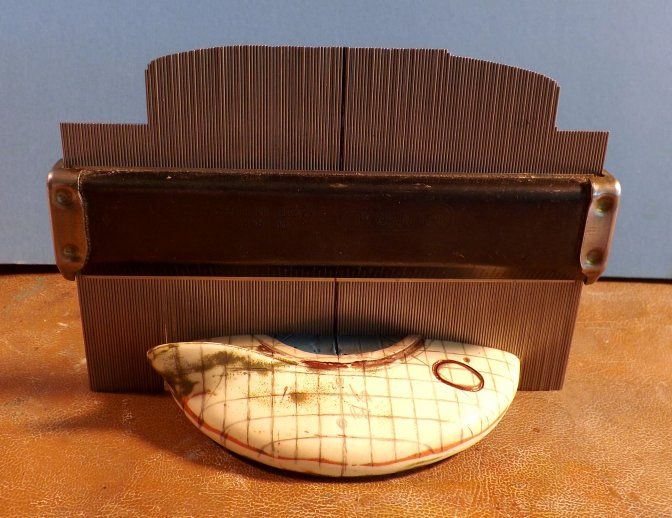
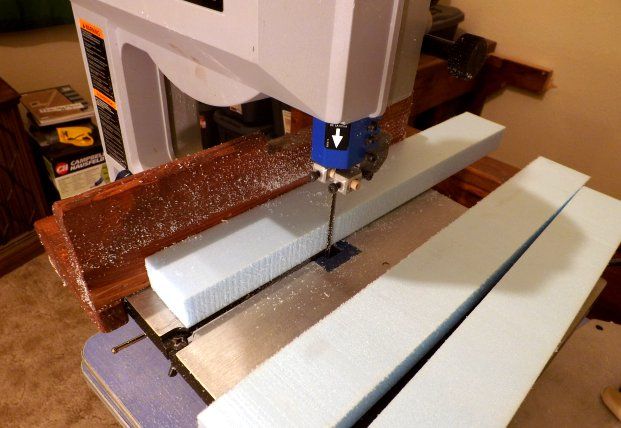
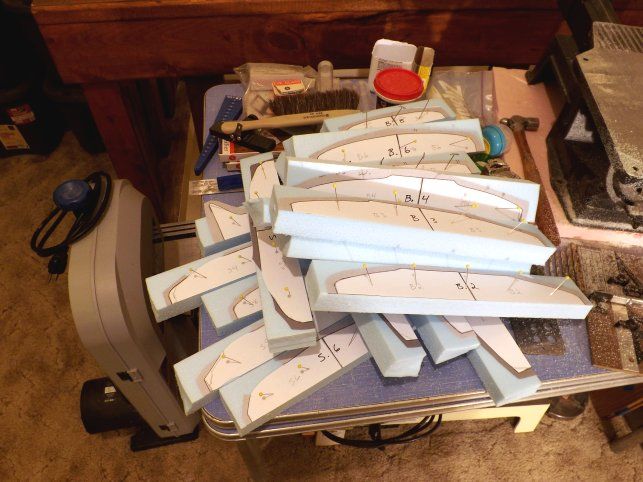
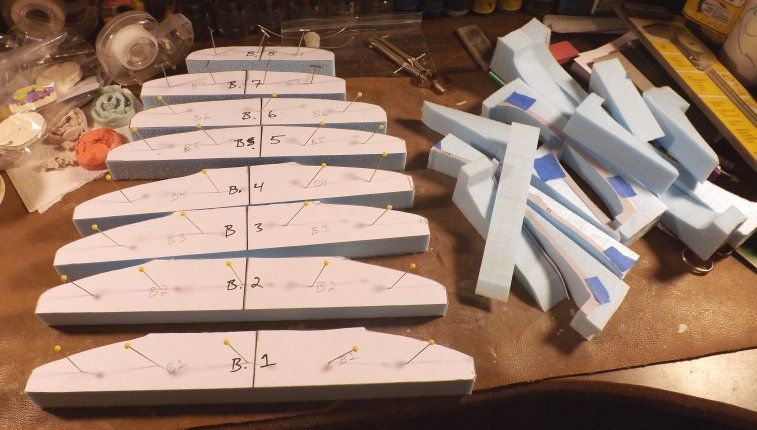
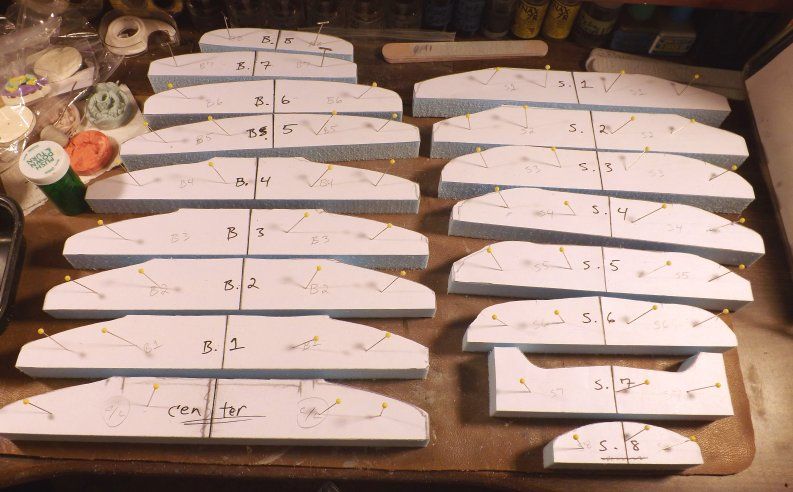
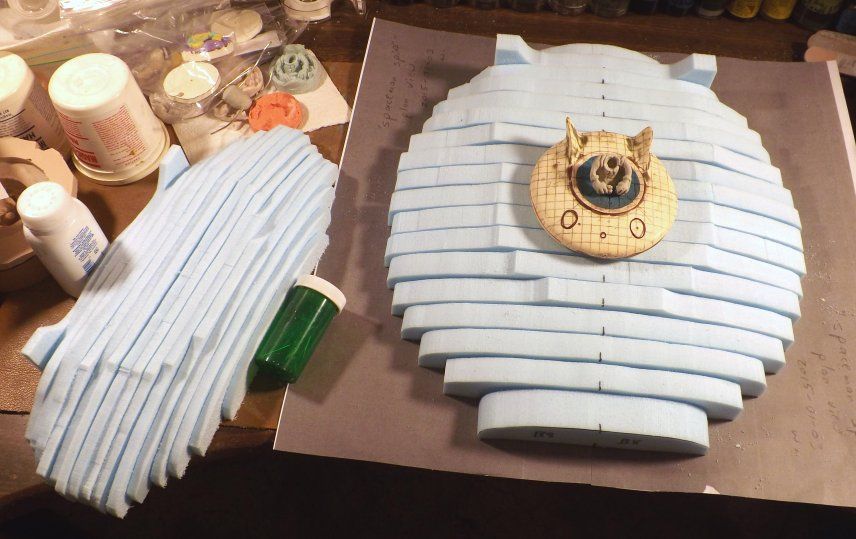
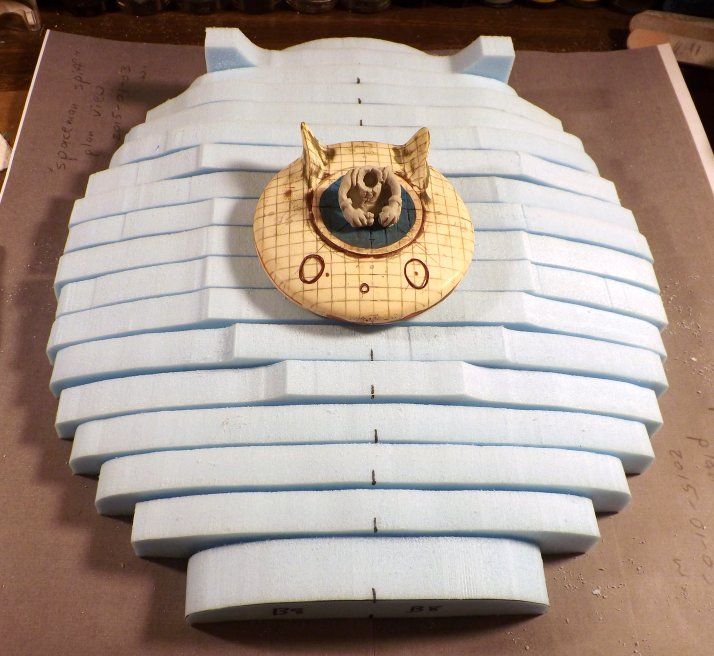
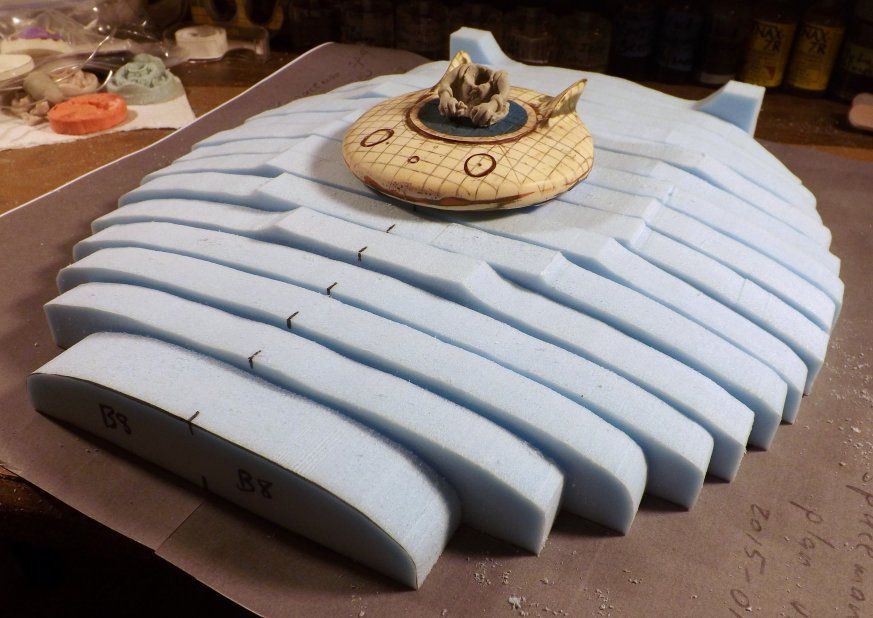
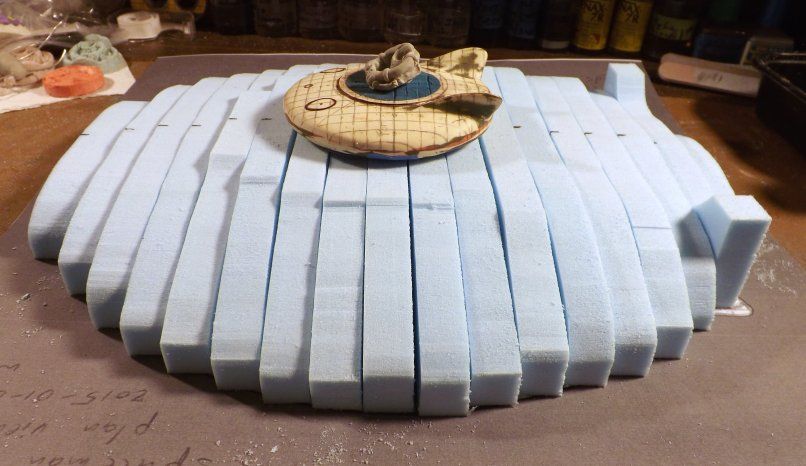
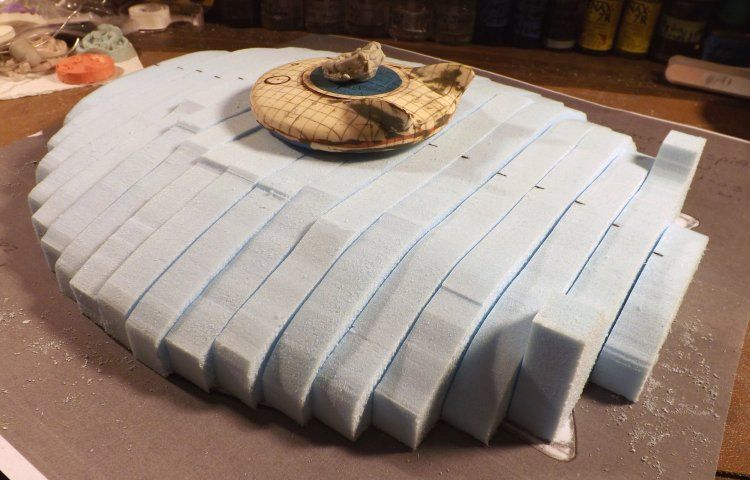
There's more to the story than just that ... but we'll get to the alternate reasons I wanted to have a copy of that kit, in due time. (For now, just know that I also wanted to sort of "measure" it, or document the shape of the kit, in some detail; so that I could also build a larger model of it, totally from scratch.)
Here's some pics of the almost-finished resin kit, as it arrived in my hands ...
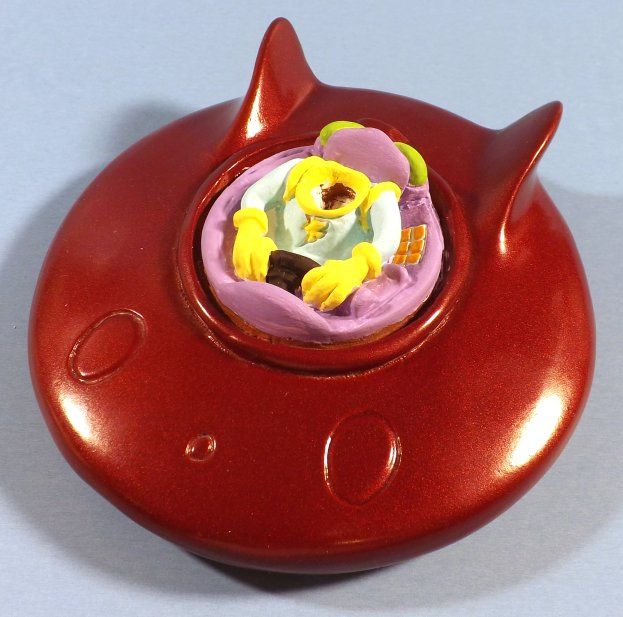
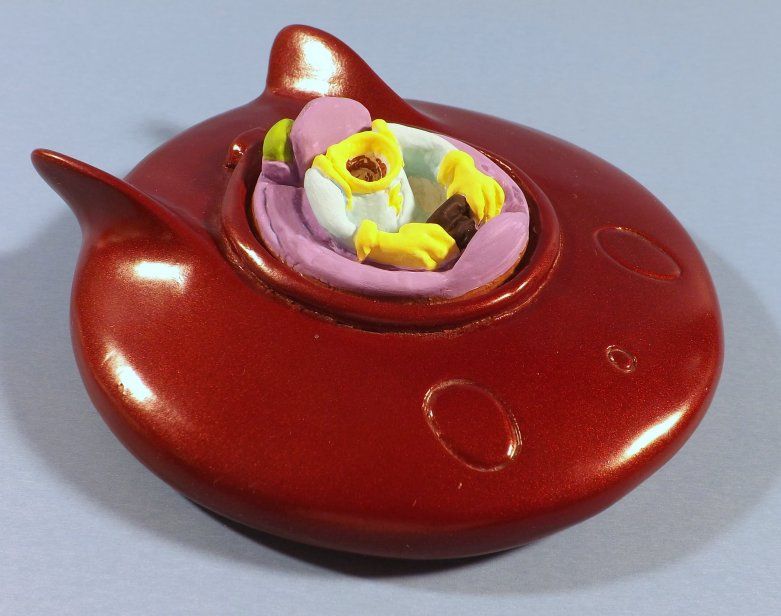
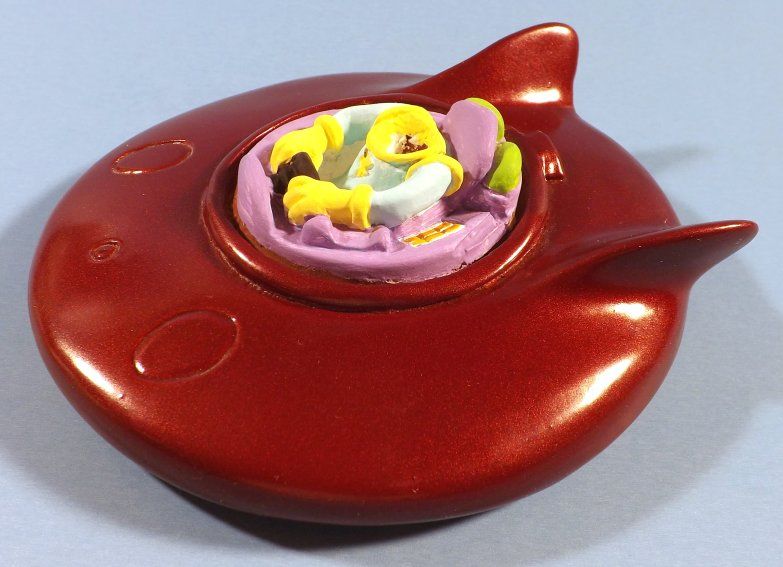
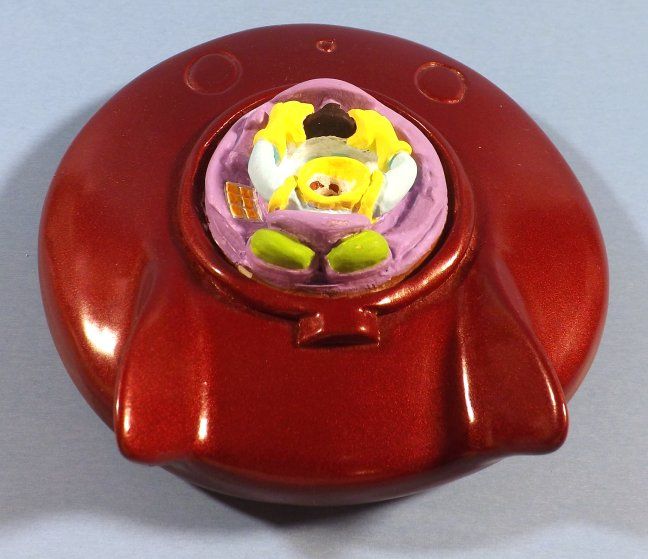
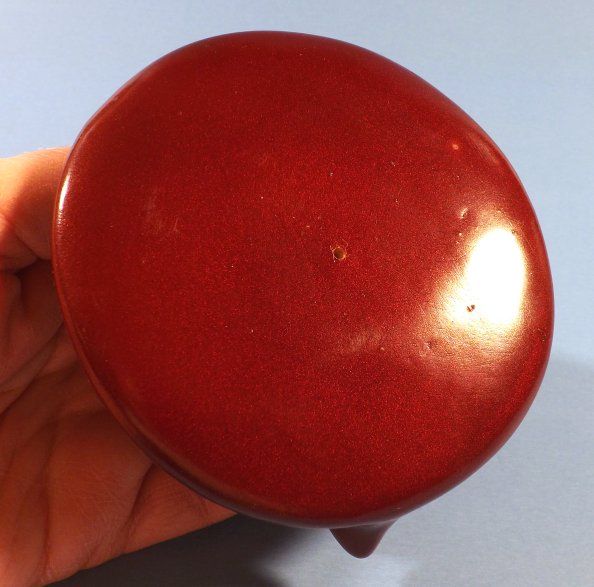
You'll notice, if you're a fan of the comic strip, that Fletch's paint job on the body of the saucer is appropriately "spiffy" -- (sorry; couldn't resist the bad pun!) -- and that the figure's paint job is a very close match for the colors used in the full-color, Sunday editions of that comic strip. Even the colors of the rock base Fletch had included with the saucer, was a very close color match; and the detailing, I felt, was a very approriate match for what Spiff often "landed on".
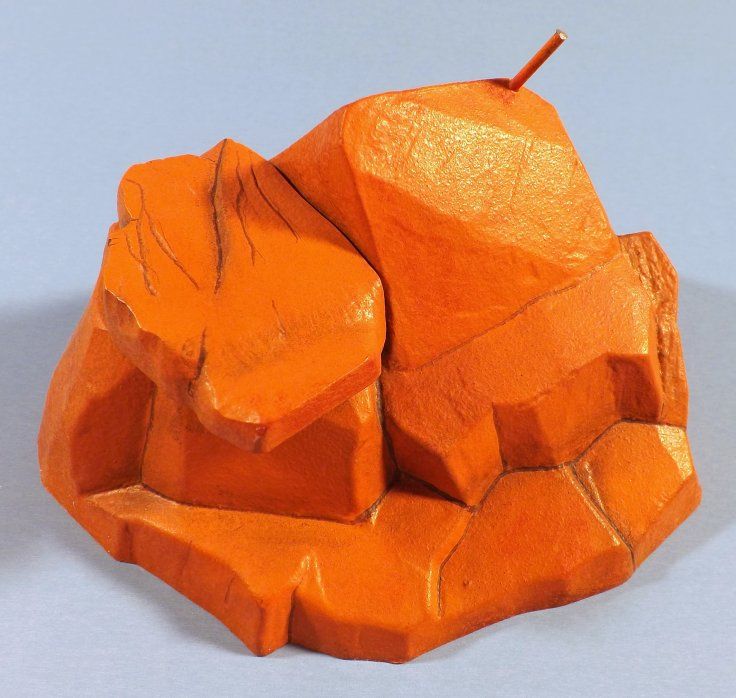
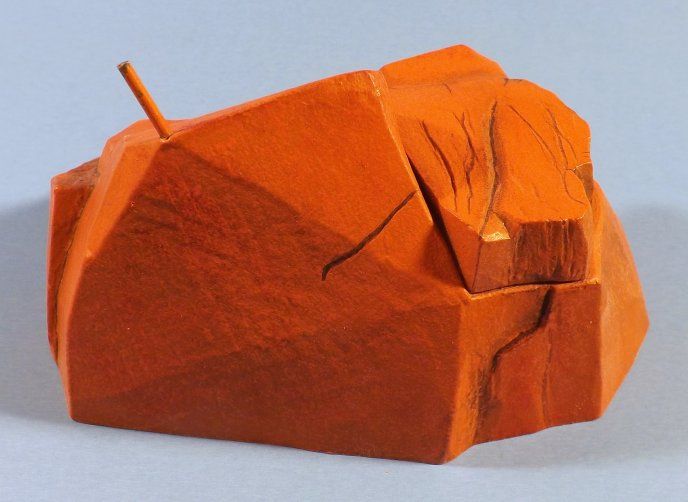
|
|
|
|
Post by wardster on Jan 10, 2015 2:19:08 GMT -5
I'm not finding a cool web link that I wanted to include, at the moment ... but once I find it again, I'll include it here via an "edit". Till I find the specific one I want to show you folks, here's a decent way to get (re-) acquainted with who Spaceman Spiff is, and to get an idea of what he generally does. (And thus, why he's cool!) www.google.com/images?q=calvin+%26+hobbes+spaceman+spiff&hl=en&gbv=2&oq=&gs_l=(The link above being just a generic "image search" on the Google search engine; looking for hits related to the search phrase, "Calvin & Hobbes Spaceman Spiff".) |
|
|
|
Post by wardster on Jan 10, 2015 2:55:19 GMT -5
I don't want to hopelessly bog this message thread down, TOO-too early in the process ... so, I'll try to save some of the wordy explanations behind "why" I did various things, for later on. For now, I'll just try to mostly explain the "how". Some of it will likely make more sense, the more pics you see ... so ... 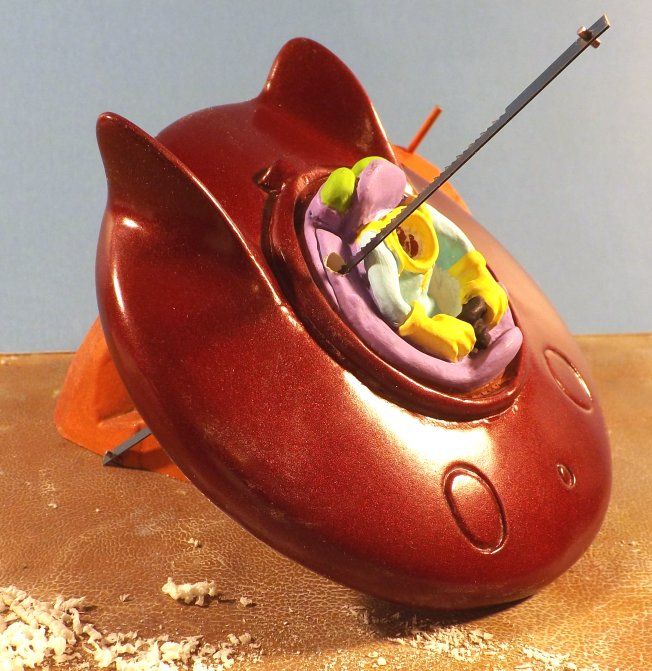 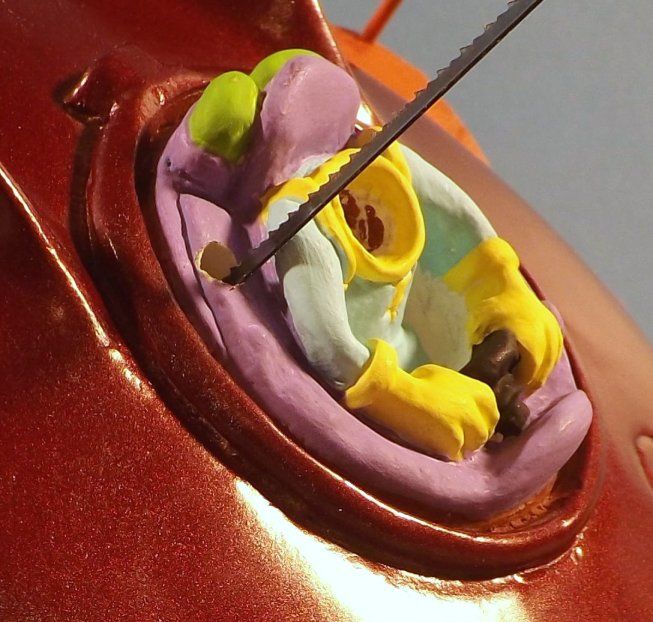 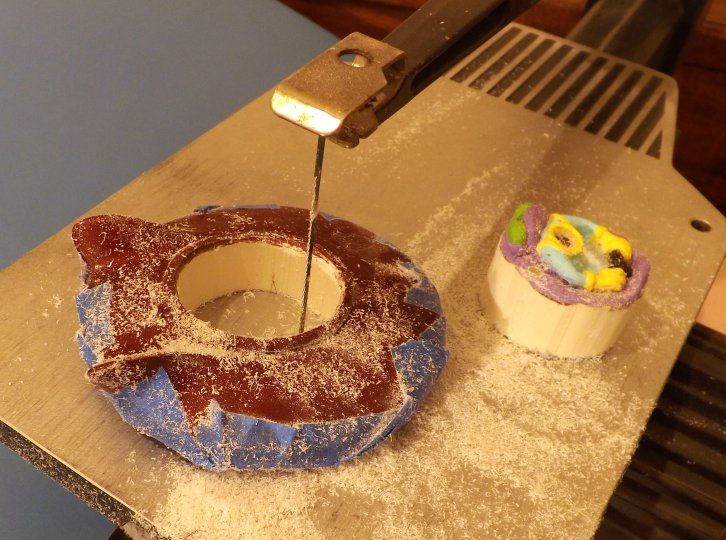 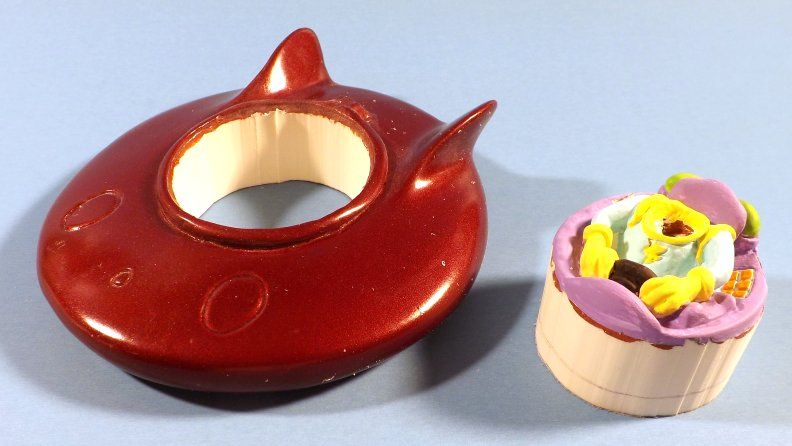 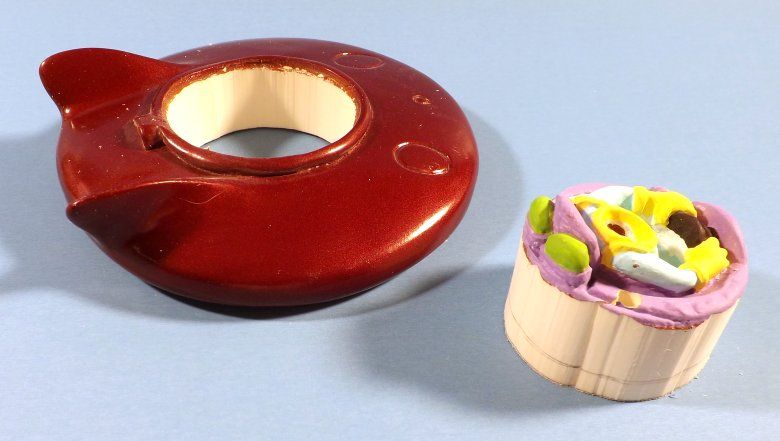 Basic idea there being that I wanted to have the flying saucer's body completely separate from the cockpit. And I wanted it done with almost no damage. (That I couldn't fairly-easily repair, later on.) Drilling one hole; inserting a scroll saw blade; attaching the blade back into the saw; and carefully making a cut around the cockpit's outer edge, gave me that. |
|
|
|
Post by wardster on Jan 10, 2015 3:08:11 GMT -5
Here's the next major thing I wanted to accomplish, once I'd gotten that far along ... 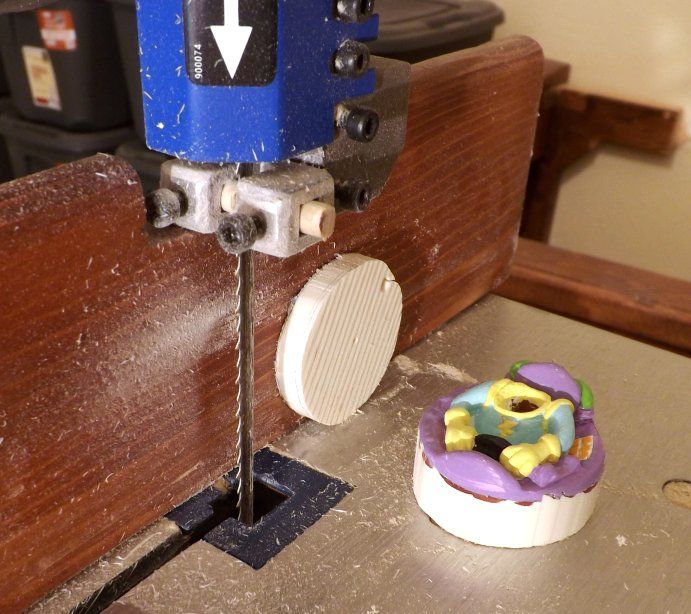 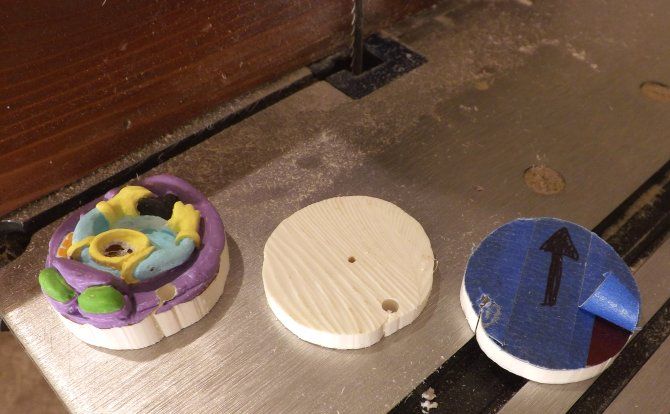 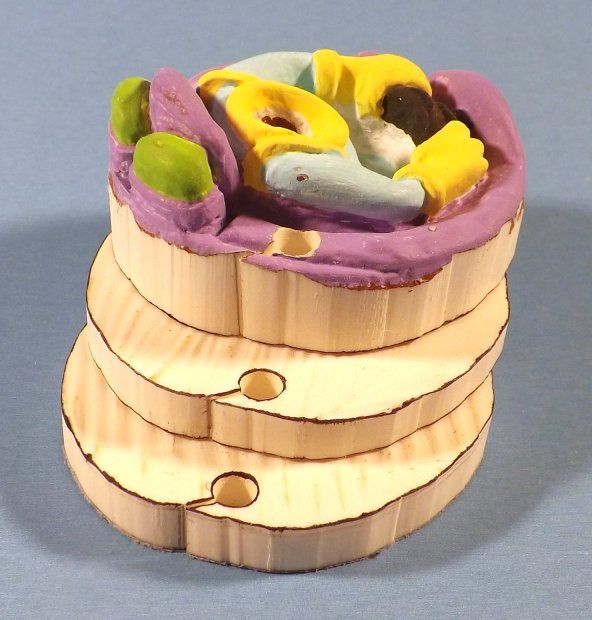 The main idea of this stage of things being that I wanted to have a lower "floor" (or repair piece) that I could re-insert, later, into the main body of the saucer. I thought it would also be nice if I could have a similarly "thin" cockpit piece, to go back where I'd cut it out: after I'd done some modifications to that piece. Which meant that I really wanted to be able to cut that "extra tall" piece into three "slices". Since I had a bandsaw, and I had made myself a "rip fence" for it, once I had removed that one-piece "cockpit and figure" chunk of resin with the aid of a scroll saw, I could then rotate the piece onto its side; and make two new cuts. The first (slow and careful for safety's sake!) pass through gave me a floor piece, by itself. Another pass through split the upper chunk into two slices. (For clarity, to show the location of any newly-cut edges better in photos, I darkened certain corners or "cut" edges with the side of an ordinary pencil's lead.) |
|
|
|
Post by wardster on Jan 10, 2015 3:14:17 GMT -5
|
|
|
|
Post by wardster on Jan 10, 2015 3:35:20 GMT -5
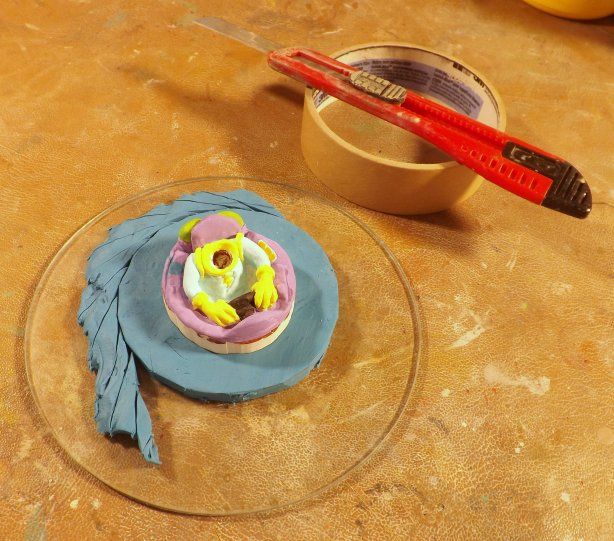
I'm kind of mentally dividing these posts up, into sort of "grouped together" tasks ... so, here is the next batch of things I did.
Or to be more precise: "attempted to do".
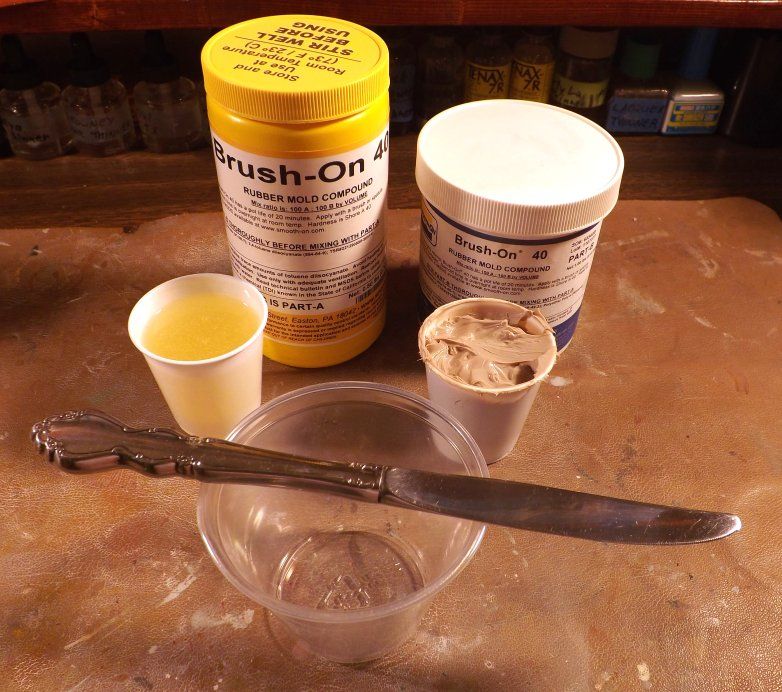
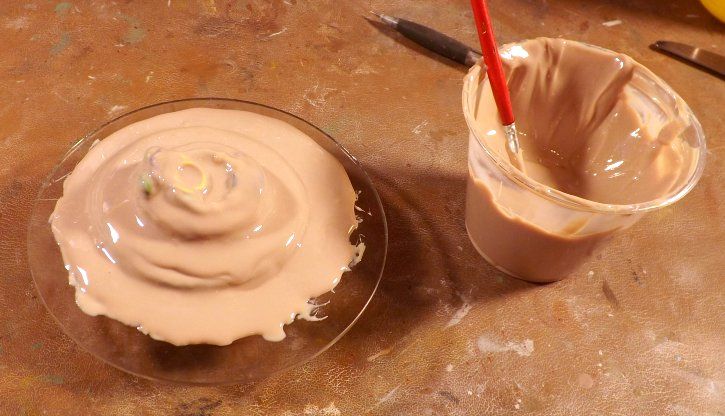
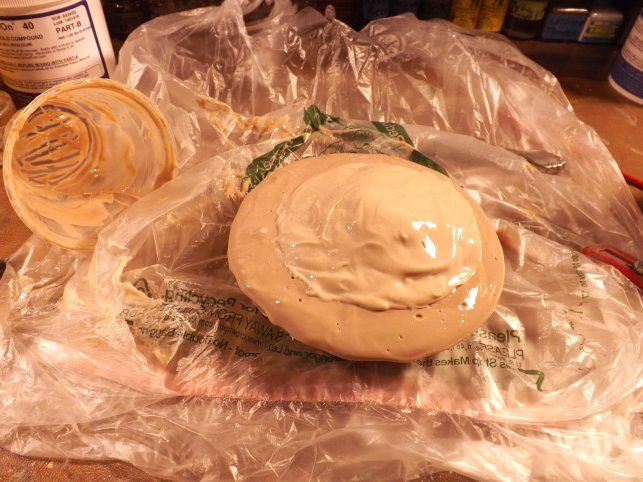
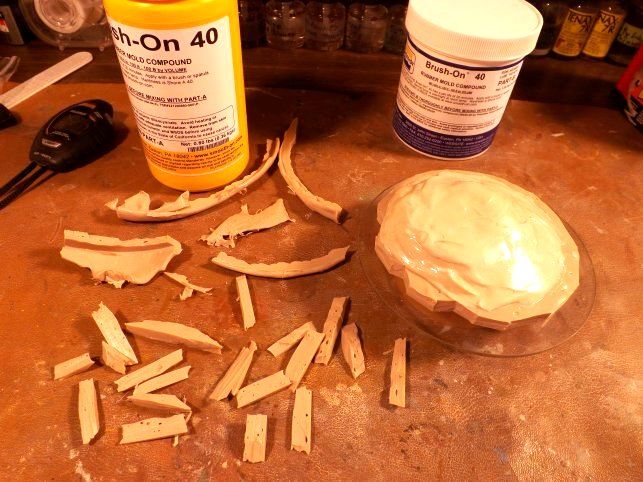
By which I mean, the main reason I used brush-on rubber in the last step, rather than the stuff you pour, was that I had some of the former and had run completely out of the latter. When I got to the stage of making small "resin" or "liquid plastic" castings, in the mold I had made in the last step, the castings weren't all that well made. Why? The resin was so old that I should have tossed it out ages ago! (I suspect I'd forgotten I even had any left -- due to general shop disorganization. So what was left, sat so long that no sensible person would have tried to use it. In any case, I made the attempt ... with reasonable success, all things considered.)
But to get back to picture posting chores ...
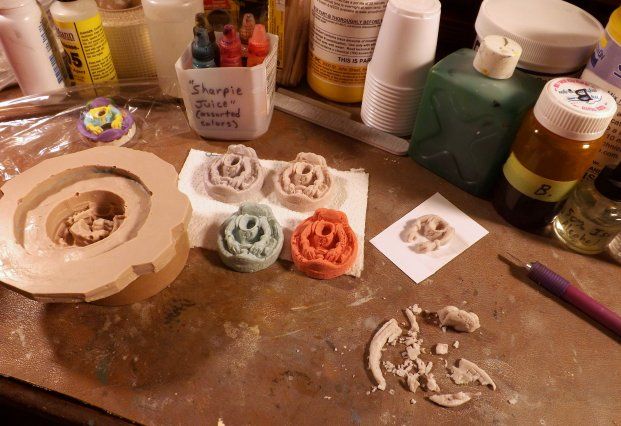
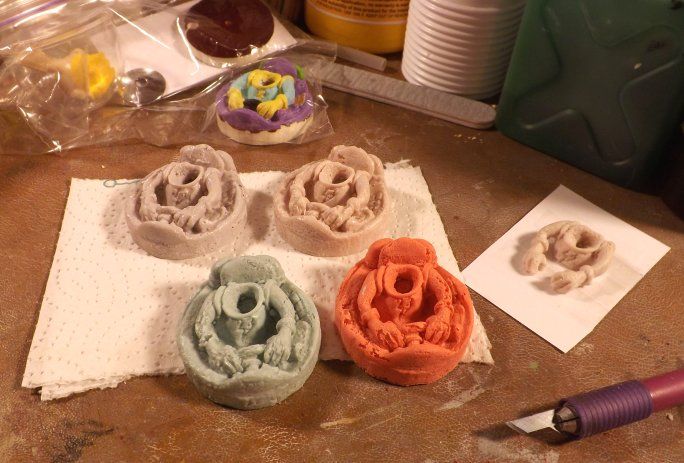
Considering the resin had hardened up at all, half-amazed me: since I had had to strain out all the big chunks of crud, twice, before attempting to mix any of it! (Any brand of resin that still mostly works as intended, when you started with aging left-overs that were two-thirds useless, hardened chunks, impresses me!)
Abuses of various nonsensical processes aside: the main thing I'll point out, with words, which may not be immediately obvious by just looking (casually, anyway) at the two pics above, is that I "cheated" a bit, and used the last of the (ridiculously "past the use-by date") casting resin to only partially fill the inverted rubber mold. In so doing, I quickly and easily ended up with a "separate figure". Sort of, anyway. More on that later.
The "dye" I used to alter the color of the casting resin might interest some of you? It's something I call "Sharpie Juice". Just ask, if you want more of an explanation on the how's and why's of that super-handy stuff. I'll be glad to fire off an explanation; including other uses I've successfully found for it. |
|
|
|
Post by wardster on Jan 10, 2015 3:53:14 GMT -5
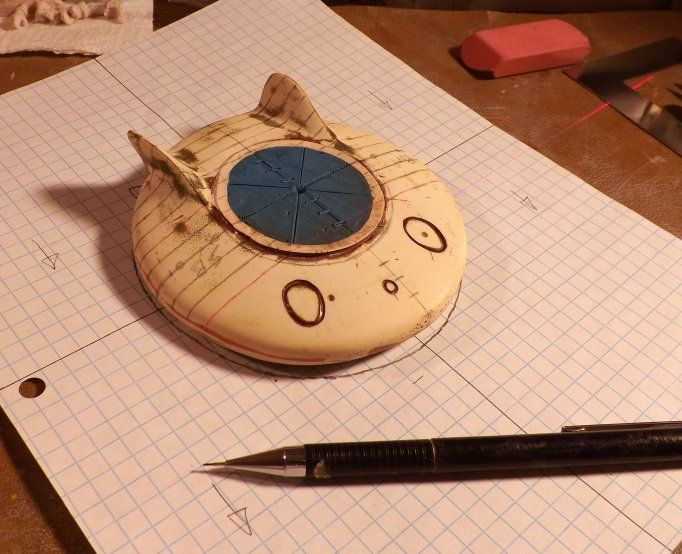
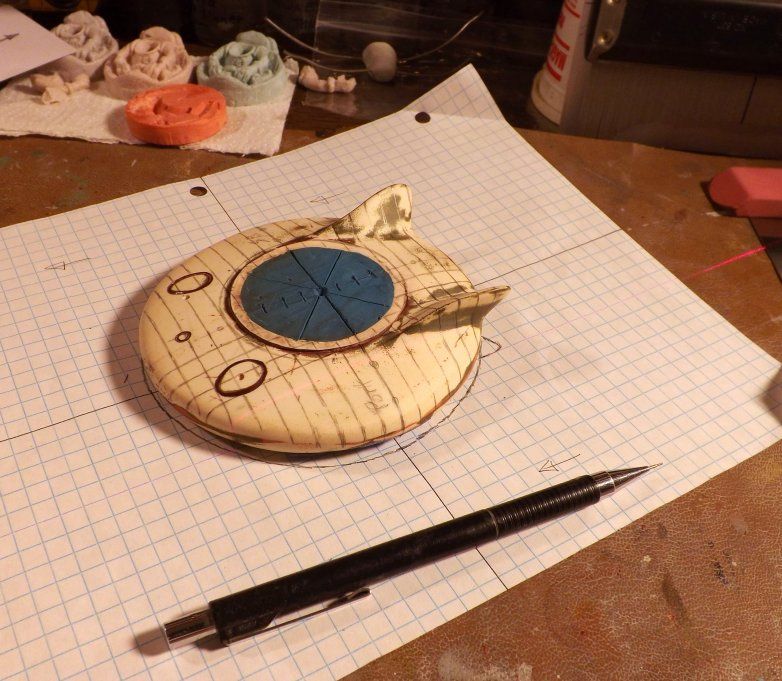
As much as I was fond of the paint job Fletch had applied to the saucer, it took me a pretty long time to decide to take the plungle, and sand most of it off. I hasten to say that I was NOT doing the sanding work I'll show next, because of anything wrong with the as-supplied paint job! The paint work was fine! However, as some of you will likely notice in future photos -- (or may have already noticed, in the first images) -- the as-supplied (or "built in") detailing work was sometimes a bit "off". What I mean is: my eyes could see quite a number of small things that were not fully symmetrical, when visually comparing the left and right sides with one another. Some of it, I could have largely ignored. Some other things, though, would have really bugged me if I hadn't have treid to fix them. The two large forward-facing headlights, for instance, are a prominent feature of Spiff's favorite make-and-model of flying saucer; and unfortunately, they were nowhere near being "lined up," as supplied by the kits' sculptor. (You'll see how badly "off" their positioning was, later on: when I've "gridded off" the saucer.) It was a shame to have to do it, but the future "fix a few things, on the casting" plans I had in mind, forced me to break out the sanding sticks and so forth ... 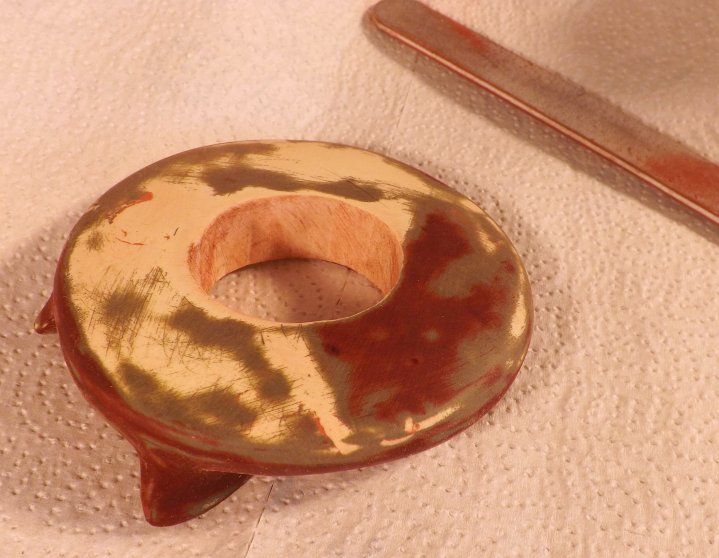 |
|
|
|
Post by wardster on Jan 10, 2015 3:59:56 GMT -5
At some point, I decided that if I was going to do extensive-enough mods to alter the cast-in headlight "scribe lines," and so forth, that I may as well remove the somewhat crudely-done "bubbletop ring" as well. So, after committing myself to sanding the entire body down, I also "milled off" the ring for the bubbletop ... 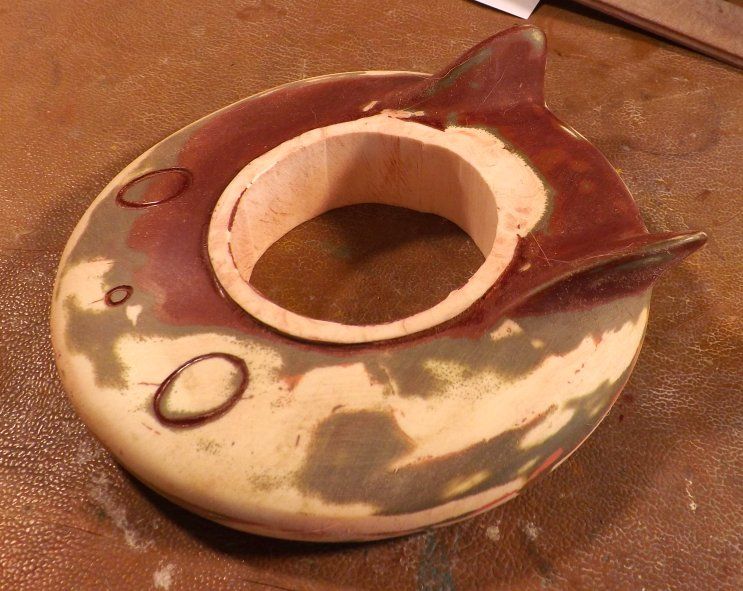 |
|
|
|
Post by wardster on Jan 10, 2015 4:01:15 GMT -5
Eventually ending up with this: 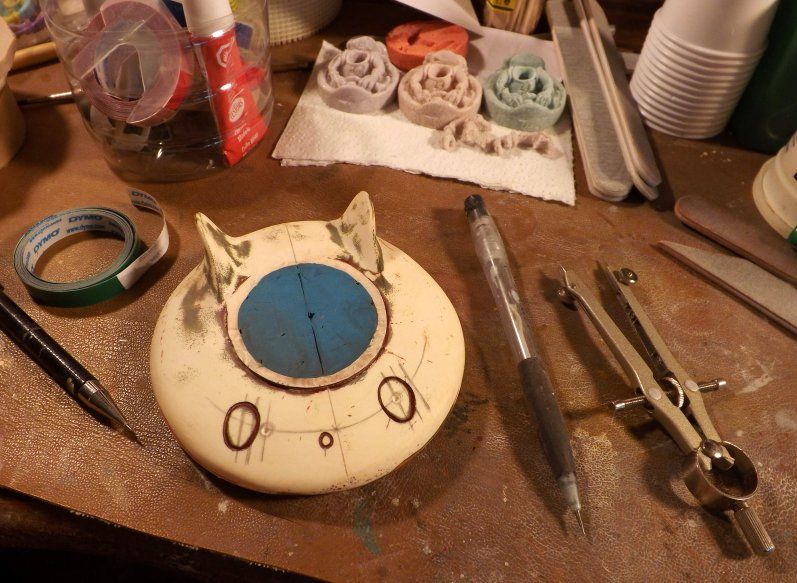 |
|
|
|
Post by wardster on Jan 10, 2015 4:09:01 GMT -5
|
|
|
|
Post by wardster on Jan 10, 2015 4:17:22 GMT -5
|
|
|
|
Post by wardster on Jan 10, 2015 4:32:02 GMT -5
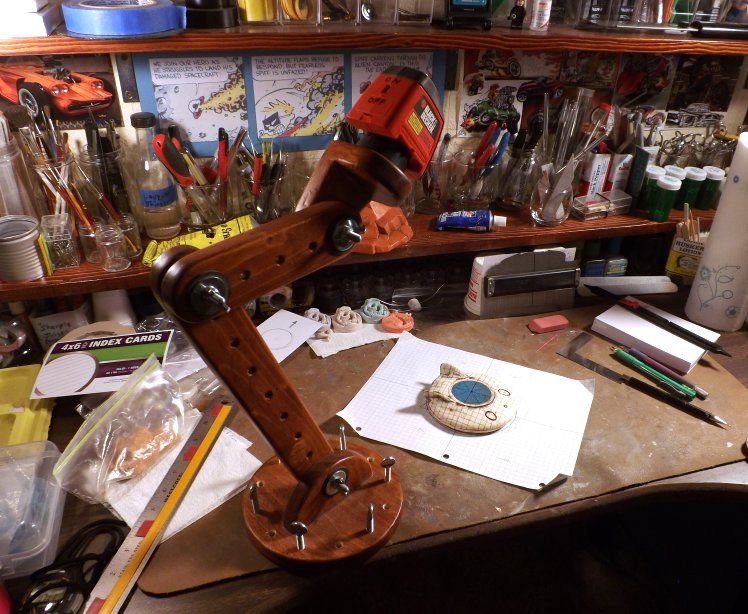
I'm kind of rushing the "wordiness" part of my explanations along, 'cause it's cold as heck where I'm sitting and typing, right now ... but I'll try to answer any future questions and such, as best I can. Feel free to ask, if you're so inclined. Meanwhile, I have a couple more pics to upload, before I crash for the night. 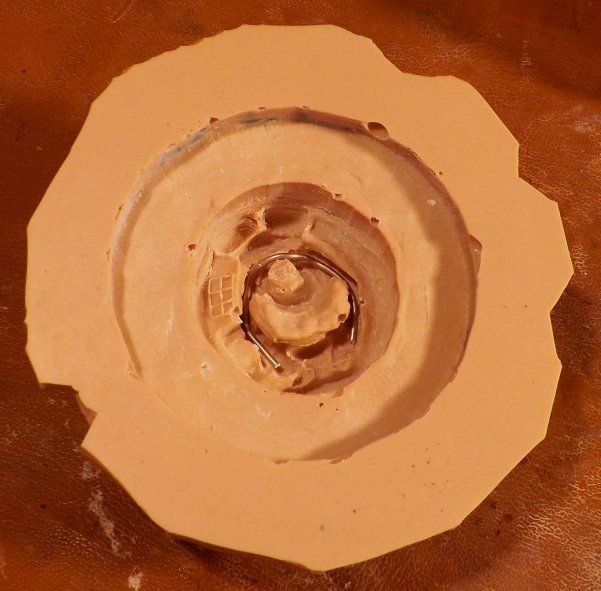 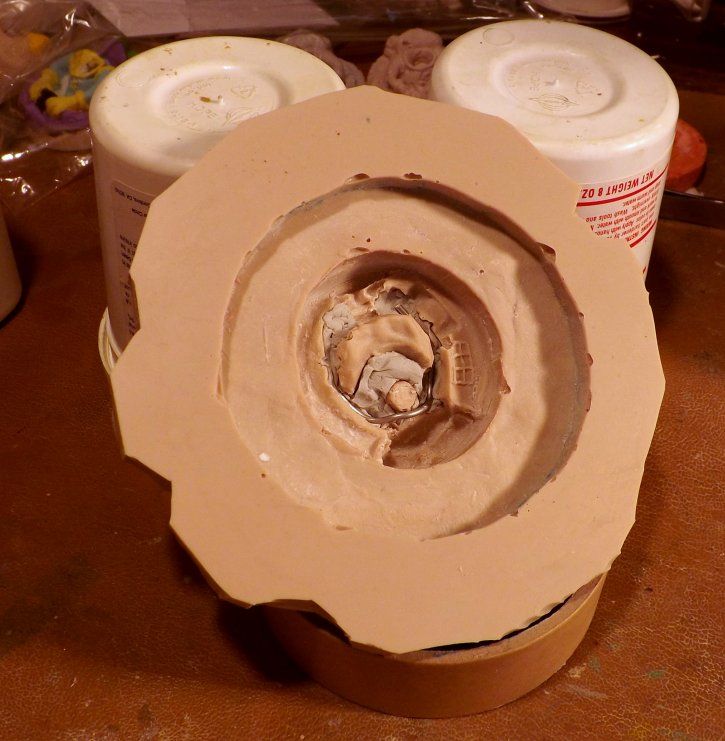 Super-short version on explaining what's going on, above, is that I experimented a bit, and found out that I could get away with using Magic Sculpt, and even some armature wire, inside of that rubber mold I made earlier. I just mixed up enough of the Magic Sculpt to "cast" a copy of what's there, of Mr. Spiff himself. Applied about half of the mixed sculpting putty into the mold; added the (carefully pre-bent, and ready-to-go) armature wire on "top" of that; then added more putty. It hardens on its own, over time. ("Super Sculpey" you'd have to bake, to make it harden -- but this material doesnt' require that.) The overall idea being that I can add more of the torso and legs, using that same material, later on ... and have it all be the same stuff; so that the sculpting stages aren't hindered by having one part of the figure be really tough and hard, and another part being way too delicate and prone to breakage, or whatever. Might be a while before I have more pics to upload. Took me about a week and a half, to get this project to the stages you've seen so far. As I continue doing one task or another, I'll keep taking pics as I go; aiming for another "kind of a lot, all at once" sort of upload process. (Hence maximizing time at my bench, etc.! Hee!) |
|
|
|
Post by TooOld on Jan 10, 2015 9:09:17 GMT -5
This is great ! I like the little resin model and how you are reworking it , and I really like how you're building a large scale replica of it ! I know it's a slow process but I'm looking forward to seeing more when you can update us !  |
|
|
|
Post by ira on Jan 10, 2015 11:12:19 GMT -5
Great Project Ward!I'll be watching... 
|
|
|
|
Post by wardster on Jan 10, 2015 14:08:39 GMT -5
Thanks, guys! Much appreciated!  Here's a link to that web site I was looking for, earlier in this thread. Lots of cool info about Calvin & Hobbes, over here: ignatz.brinkster.net/calvin.htmlI think a bunch of people here would probably enjoy checking out what's available on that site. Especially on this sub-page, where the web site's owner shows off quite a bit of fan-made sculptures or models or other homages to cartoonist Bill Watterson's great artwork. ignatz.brinkster.net/cfanart.htmlOn that web site, they have pictures of the kit that Fletch sent me; plus one other (very different) resin kit of Spiff's spacecraft. Before Fletch sent me the resin kit I've been playing with for about two weeks now, I had no idea that version had even existed. The only resin kit I knew about was the other one shown on that fan art page, on the web site above. (Fletch's paint job, as you can see, blows away the one on that site. In my opinion, anyway!) I had seen what that site calls "Spaceman Spiff Kit #1" on tables at model shows or whatever, but until a couple of weeks ago, I had no clue that anything like "Spaceman Spiff Kit #3" existed. Now that I do know that other people created two different resin kits of this subject, I'd have to say that overall I like the one I have, best. It is a teeny bit rough around some of the edges, as it were, here or there ... but I like quite a bit about it. Especially after I did the "measurement" stages of things! There is a lot of subtle stuff going on, shape-wise, that I think was just a brilliant take on a 3D way to imagine the full shape and detailing of the 2D comic strip drawings. And the fins in back: even though they're not like the ones in the comic strip, I love 'em! That and a subtle "raised trunk lid" area in back, between the fins, have a very cool 50s feel. Anyway ... I'll keep working on both of these models, and will try hard to get some more updates over here, before too long!  |
|


